Tail Boom
Molding the Tail Boom Skins
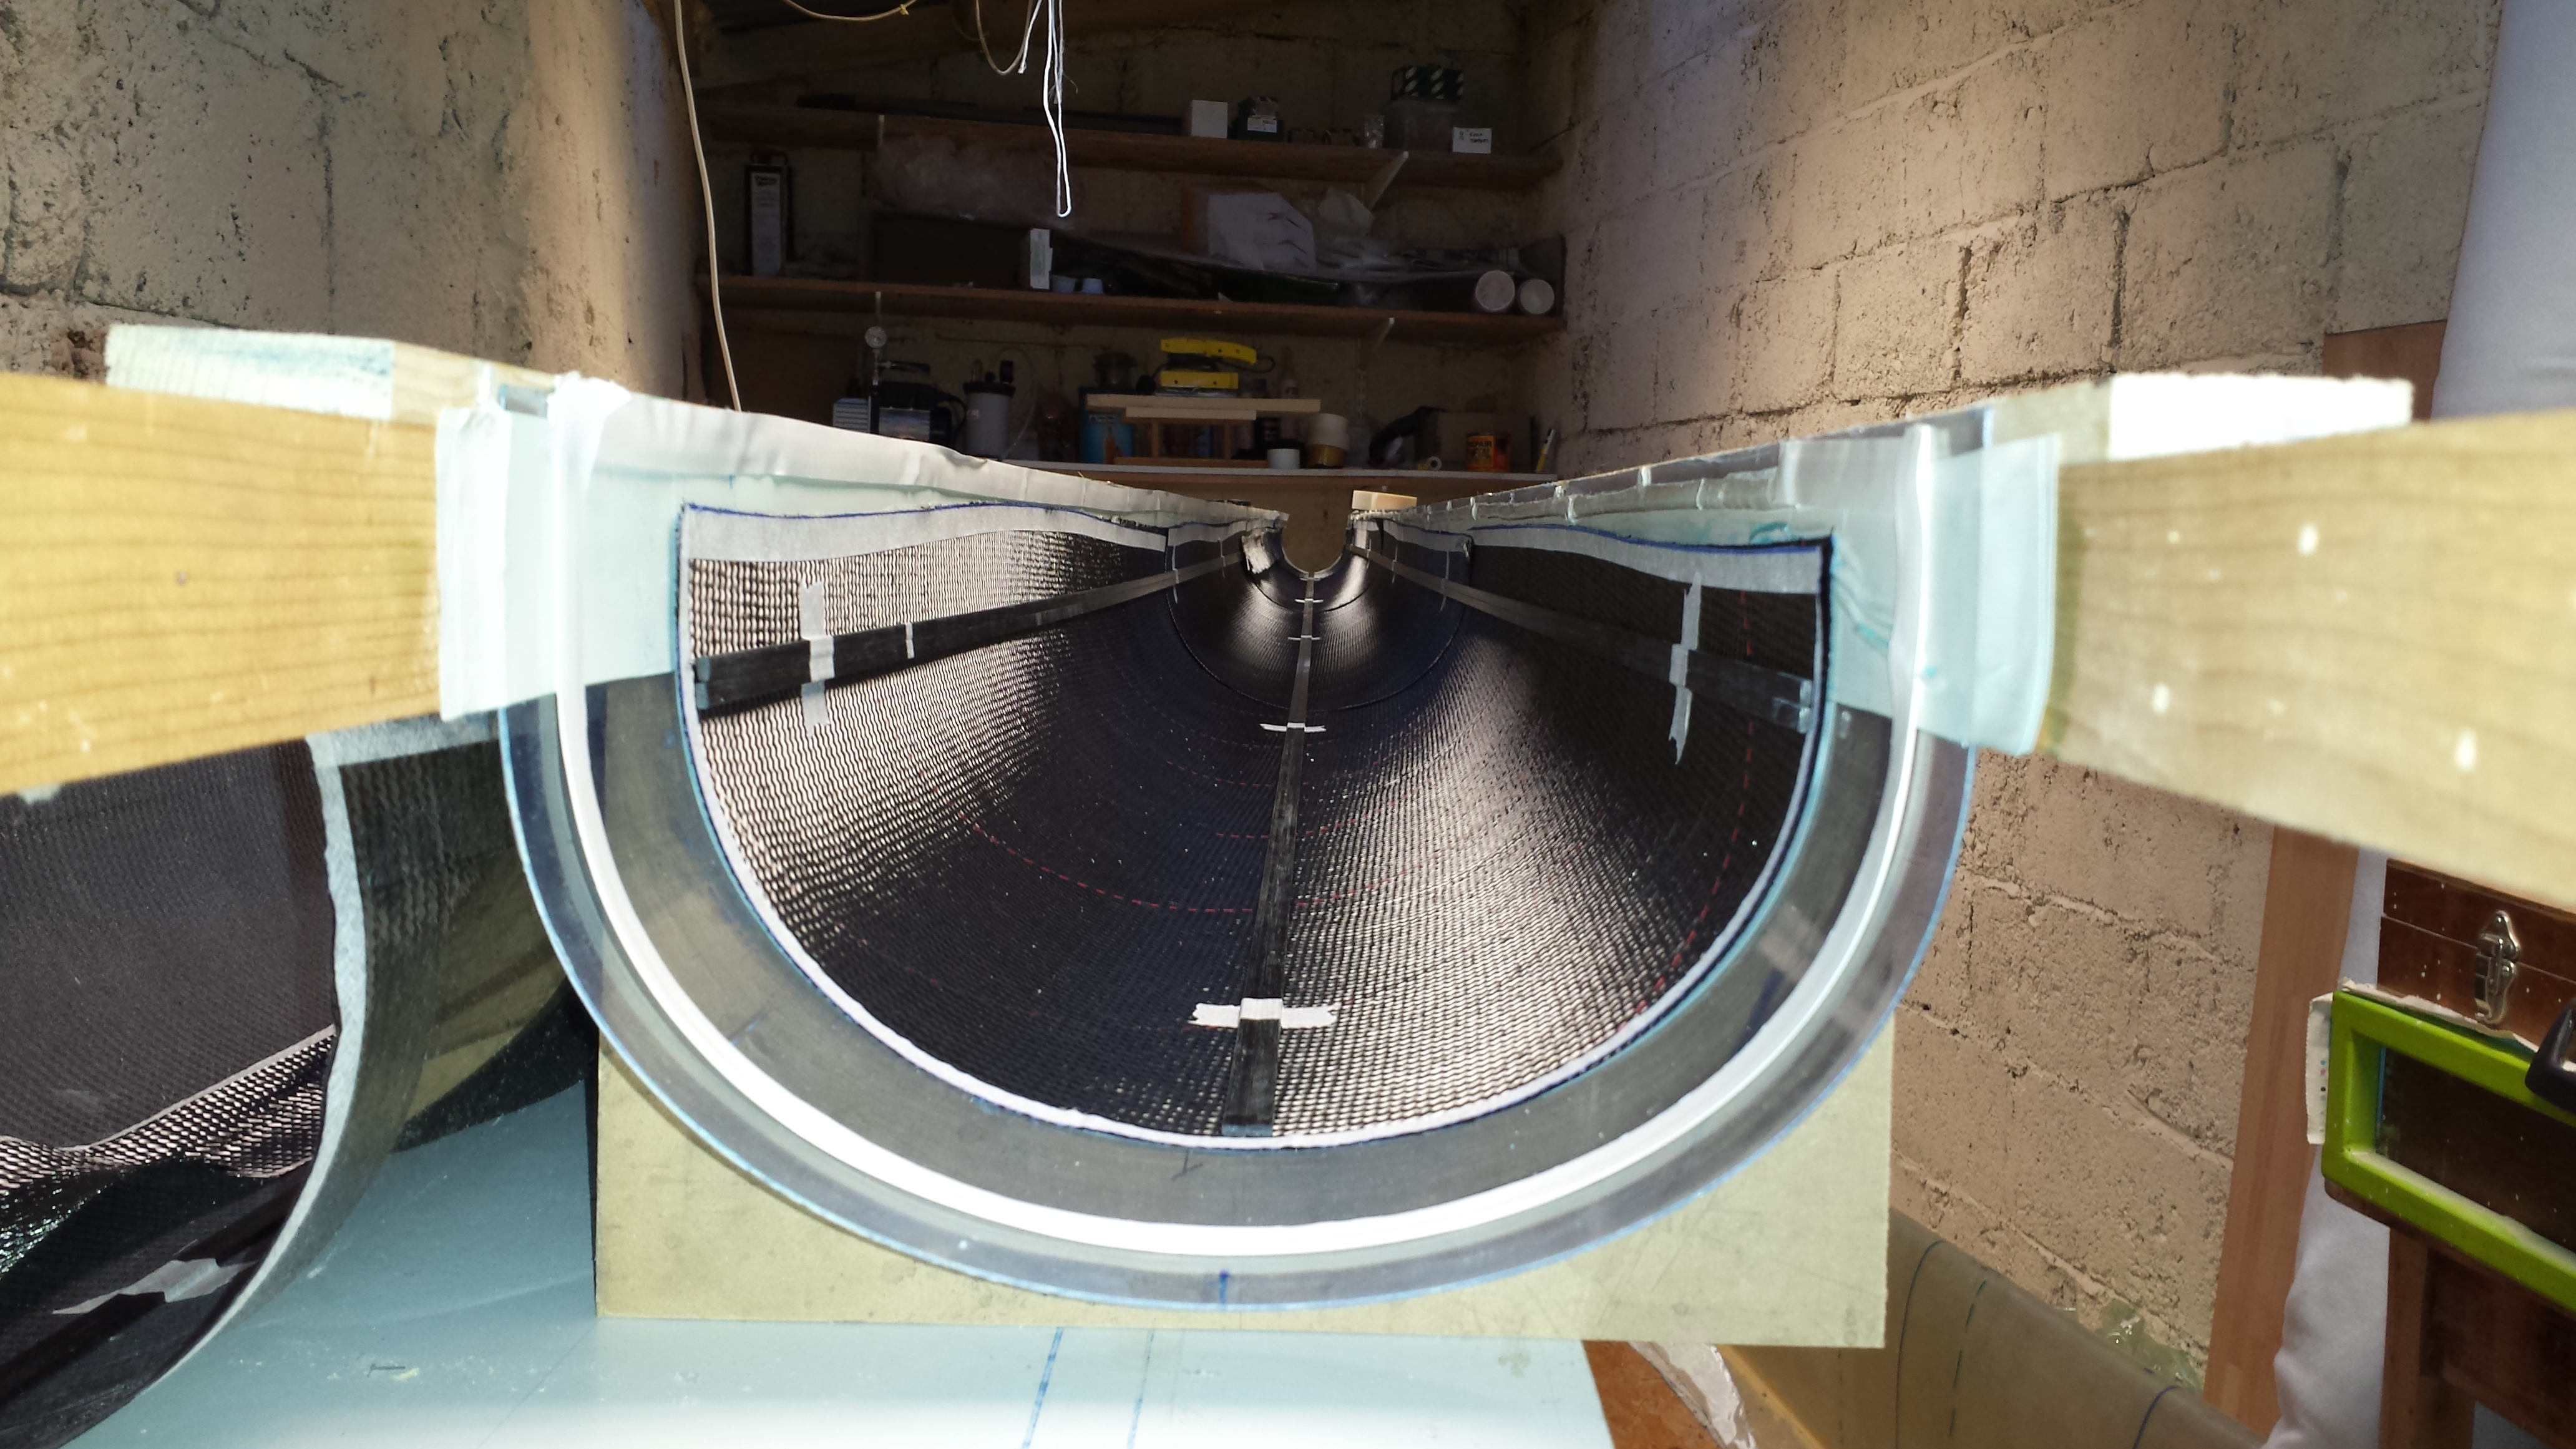
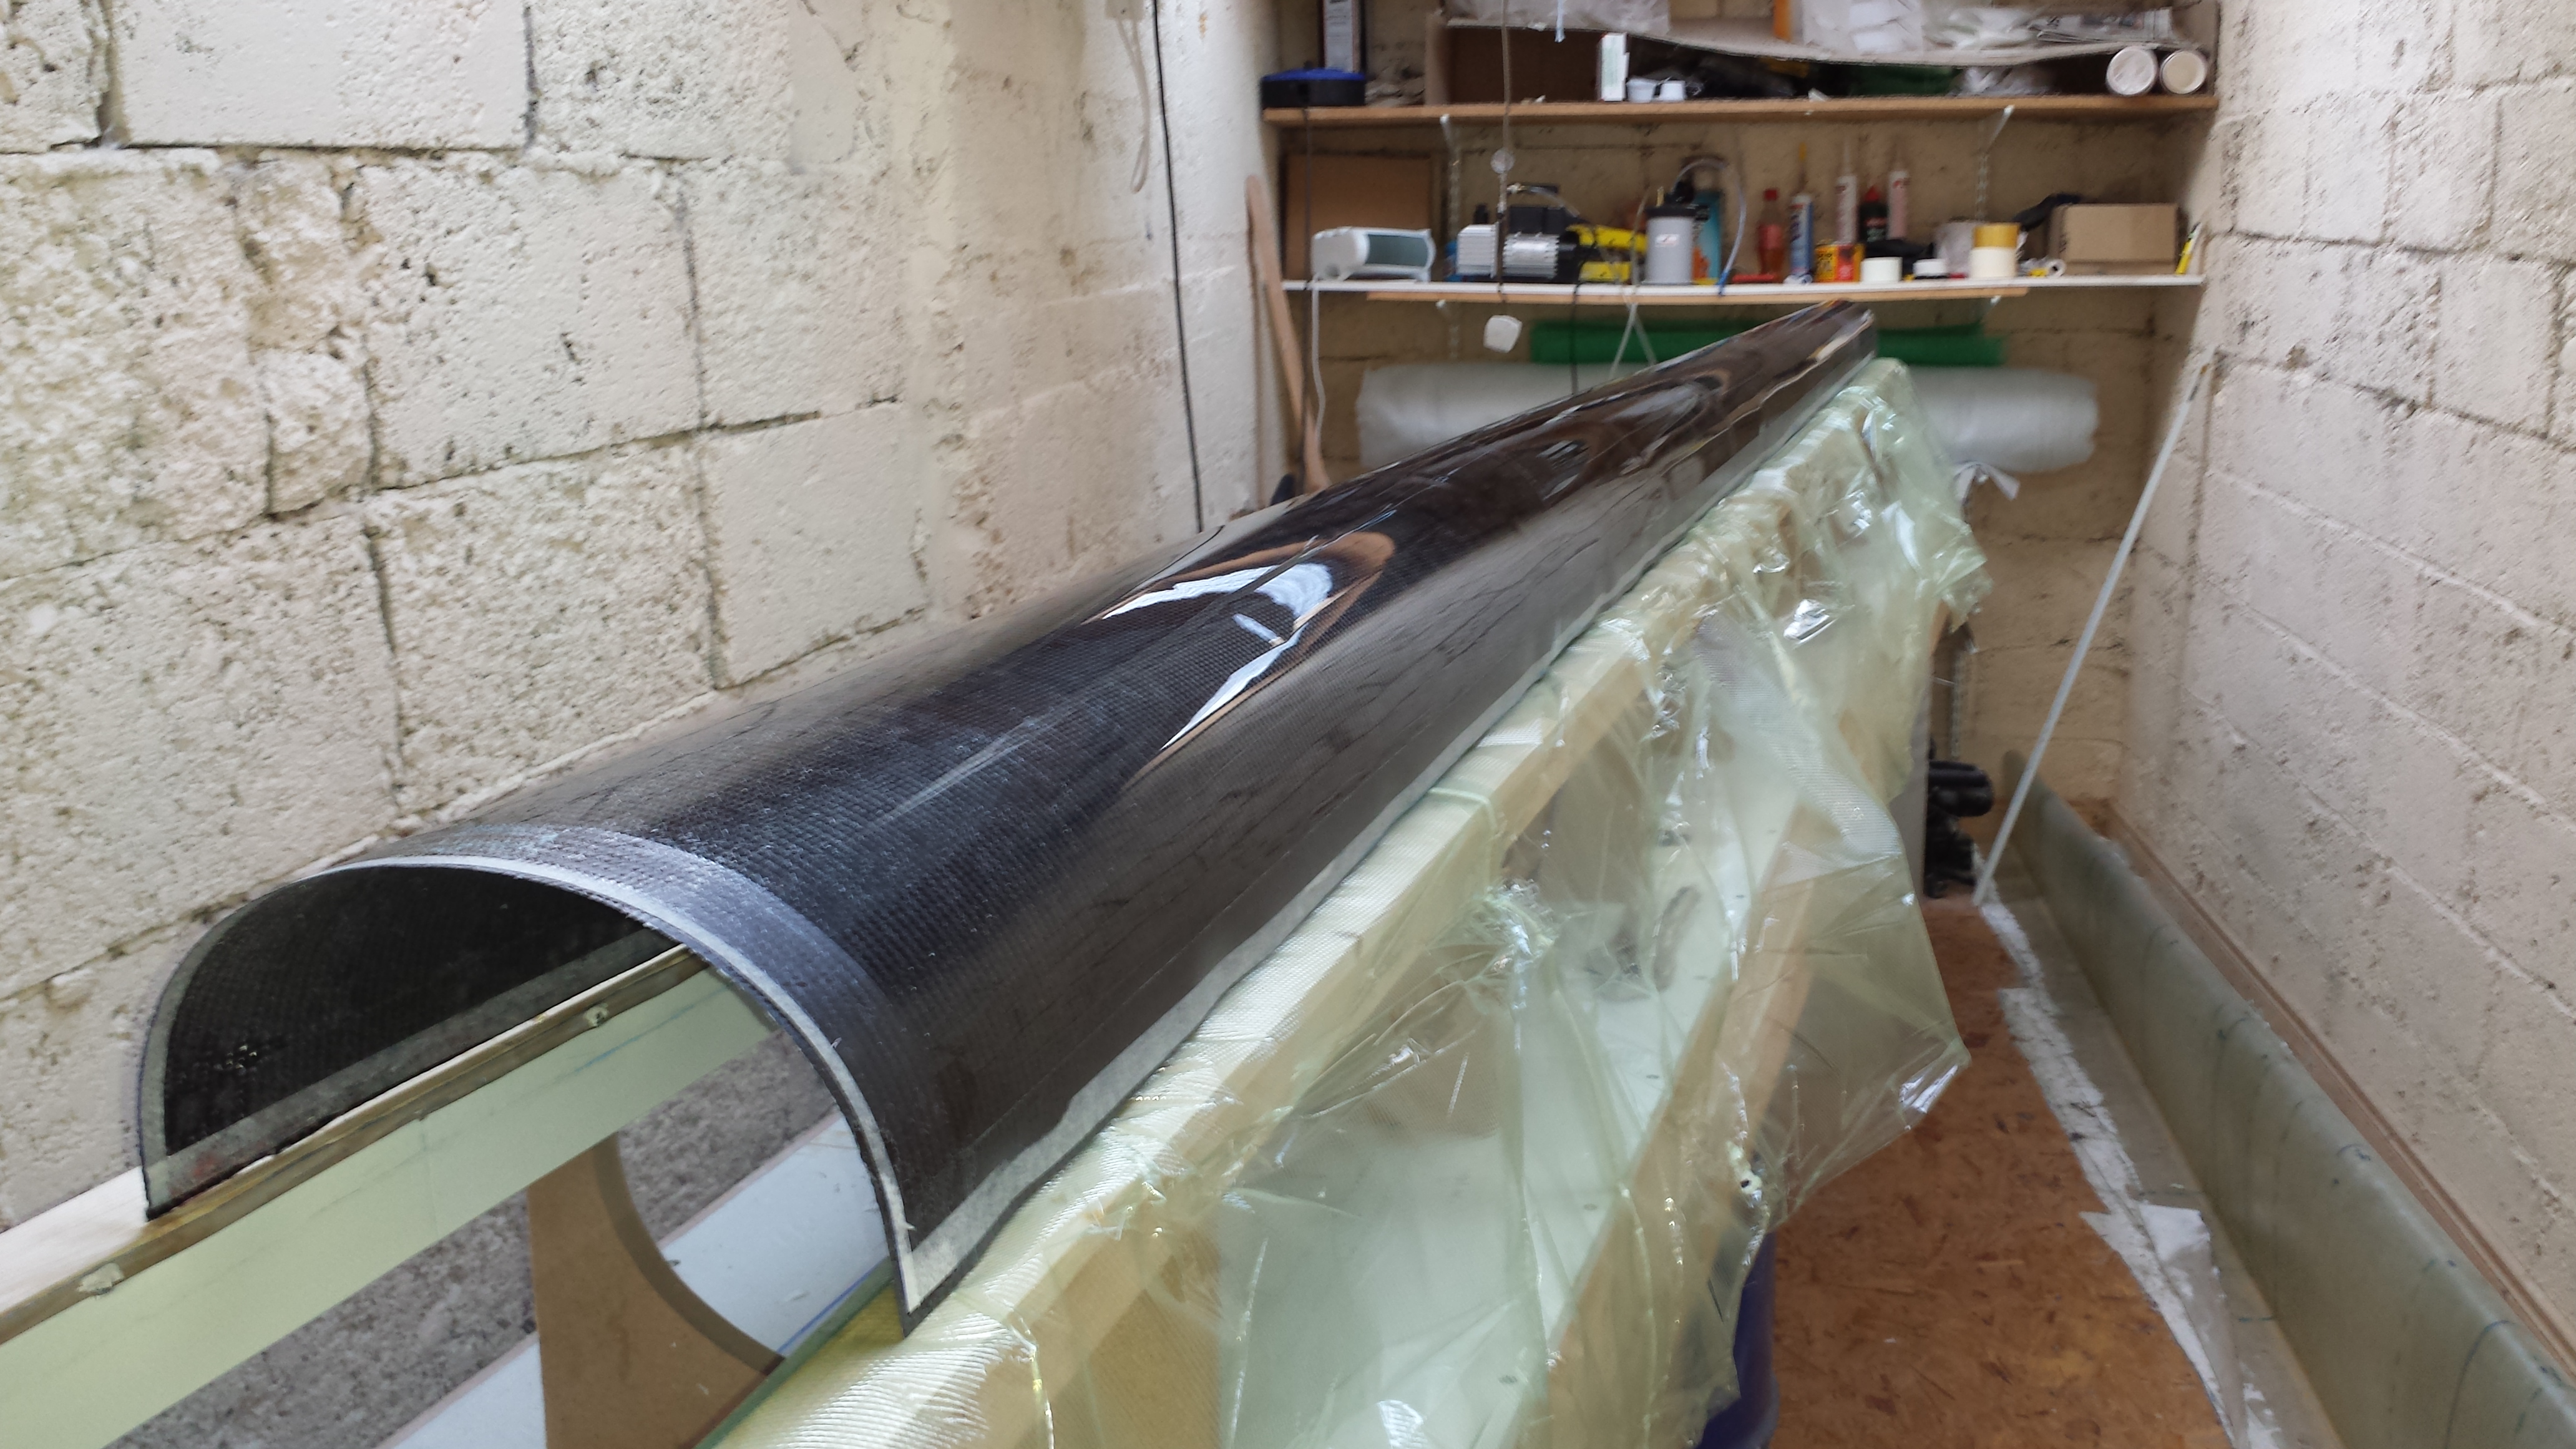
In the original Carbon Dragon Builders' Manual Jim Maupin specifies that the eliptical outer skin of the tail boom should be fabricated in two halves using two layers of 5.7oz (195gsm) carbon cloth laid up in a spiral along the length of the boom in a mold. This is fairly straight forward and I made only minor modifications to the mold itself.
The nine mold formers were cut out of 3/4" MDF and screwed to just two long stringers (made from 2" x 1" timber) along the top edges of the formers. Both the 2" x 1" stringers and the MDF formers were pre-drilled to prevent the screws splitting them and to ensure the screws were located exactly.
The mold was then lined with 0.5mm polycarbonate plastic, which is slightly easier to bend than the formica used by Jim Maupin. Formica is also liable to snap if bent while cold! The plastic I used to line the mold comes in 4' x 8' sheets and so two lengths must be used to line the mold, taking particular care to ensure that the join between the two sections is perfectly flush. The join between the two pieces of plastic was sealed with a strip of 2" wide packing tape on the inside of the mold. The plastic mold liner extends about 6" beyond the MDF formers at both ends to give sufficient space to seal the ends of the vacuum bag, which is gum-taped directly to the inside of the plastic liner, just below the line of screws attaching it to the strips of wood.
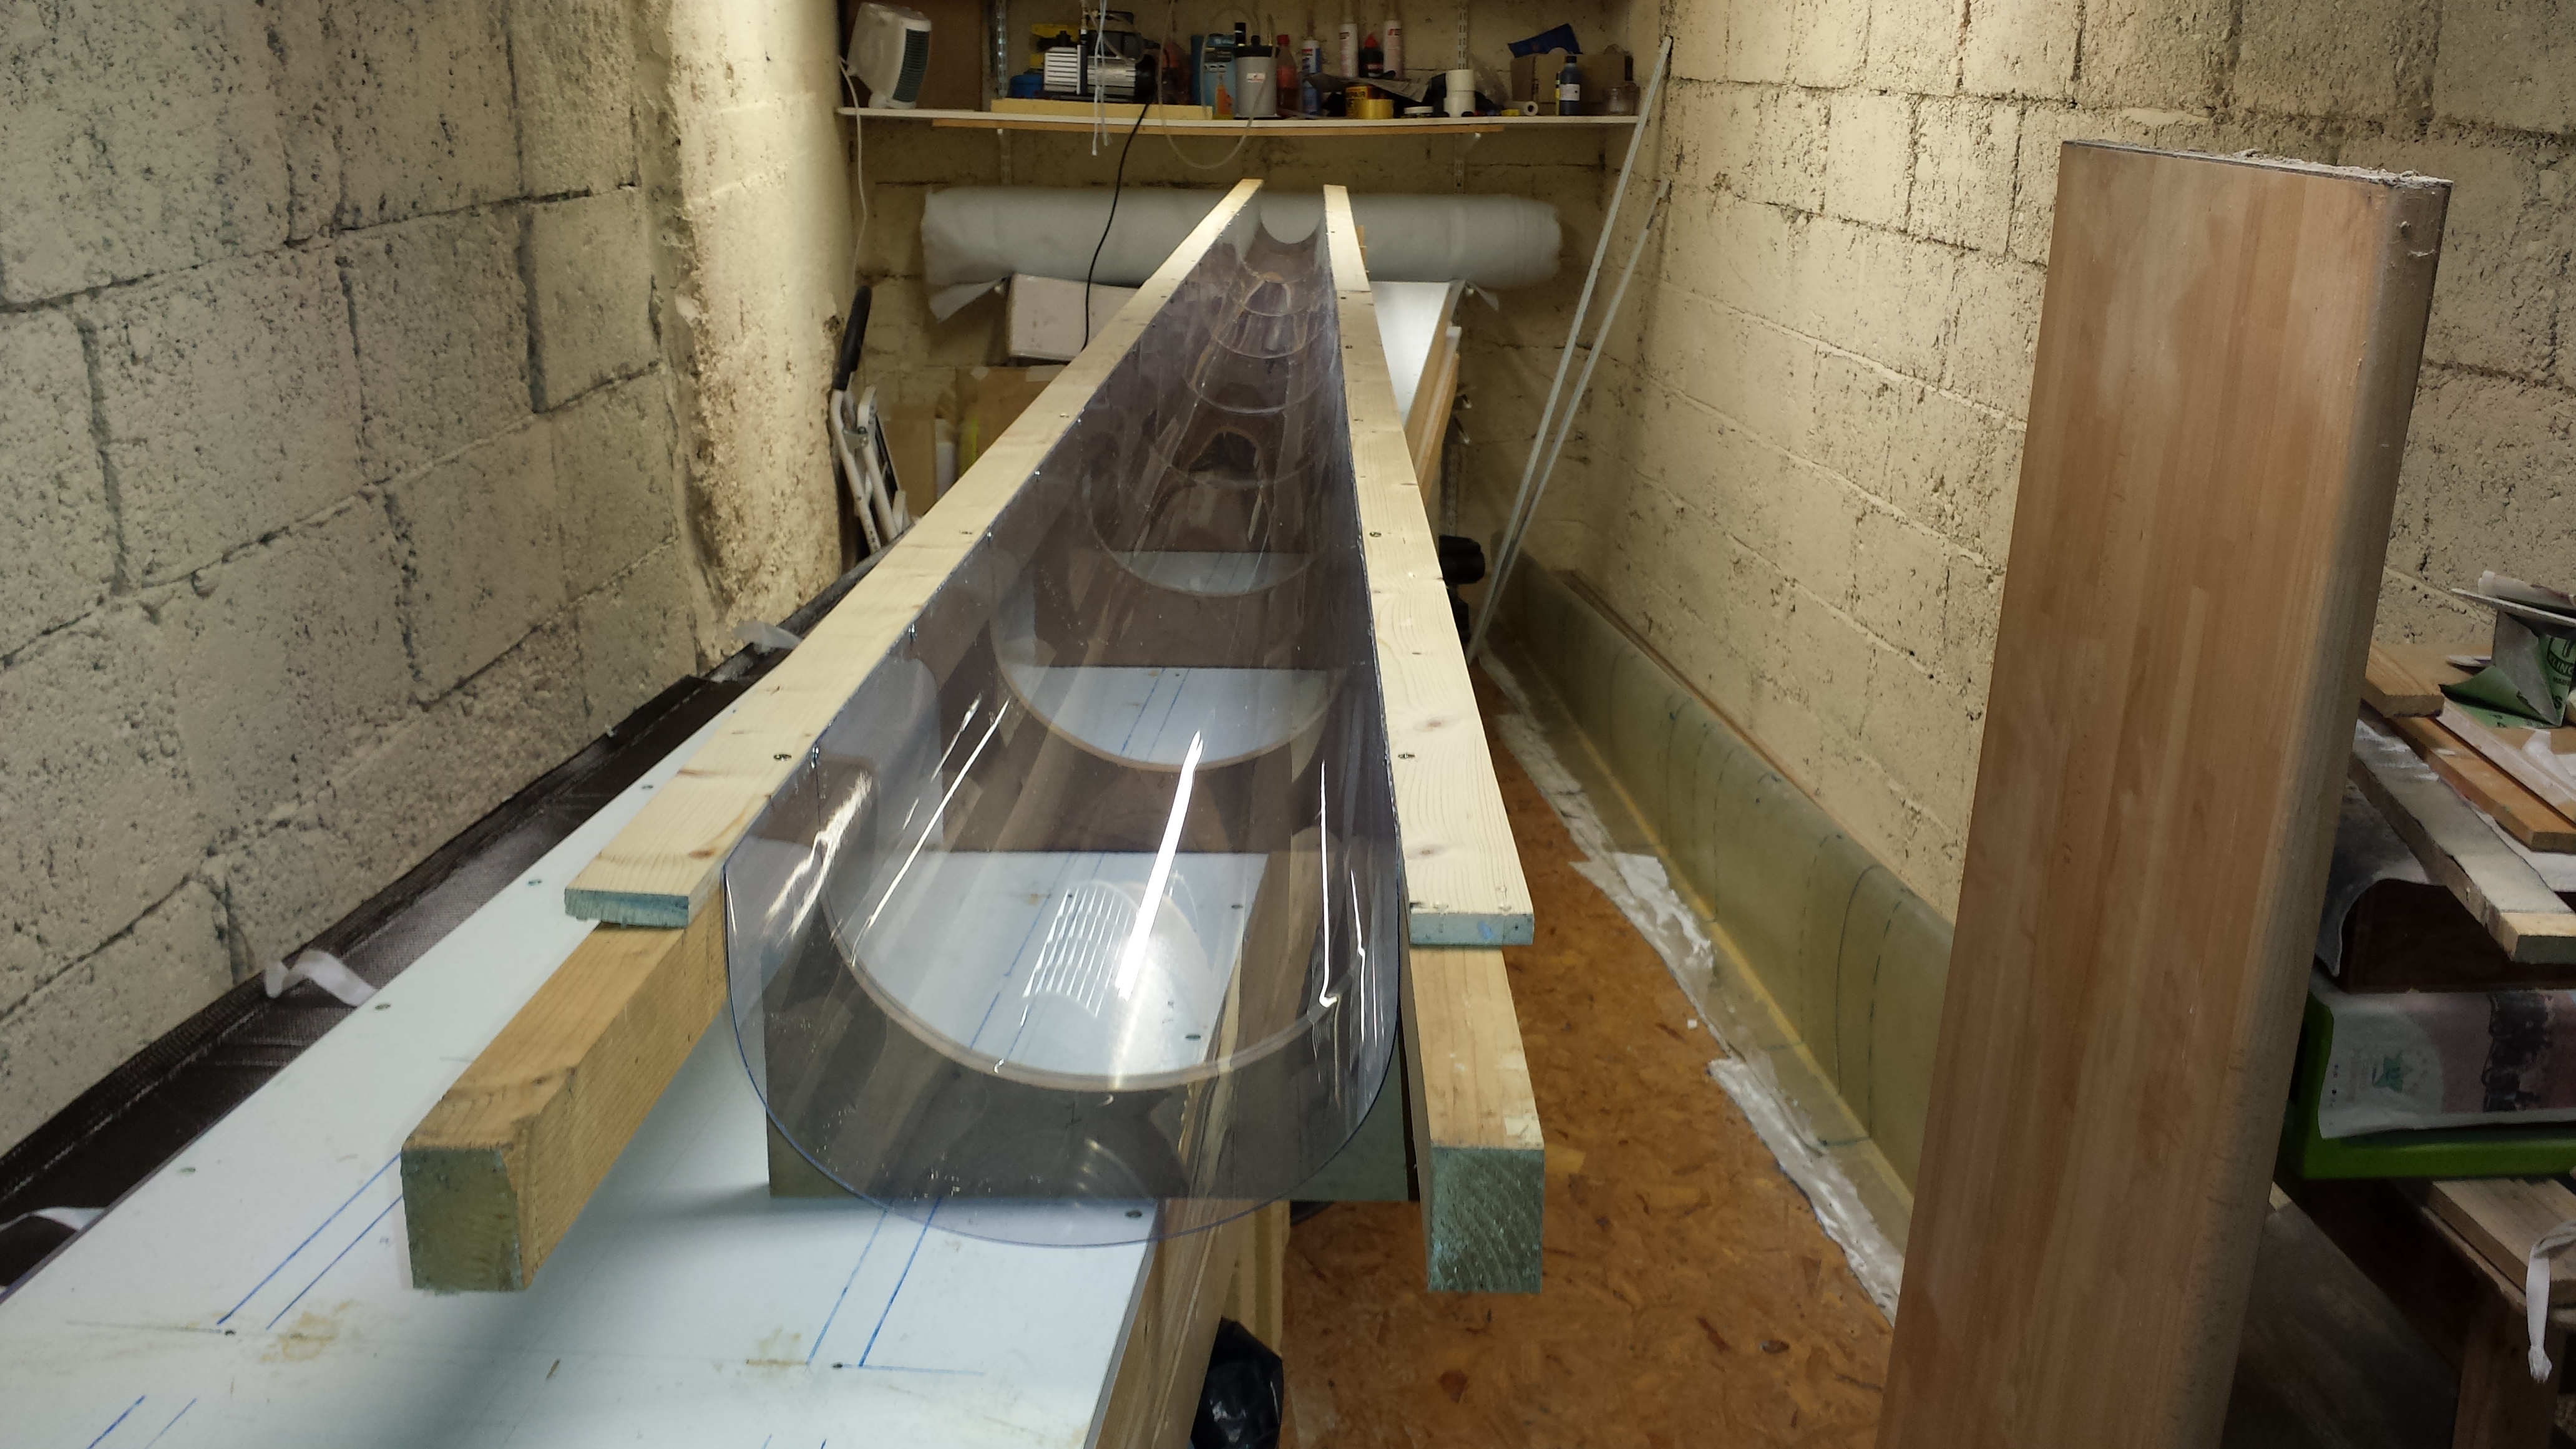
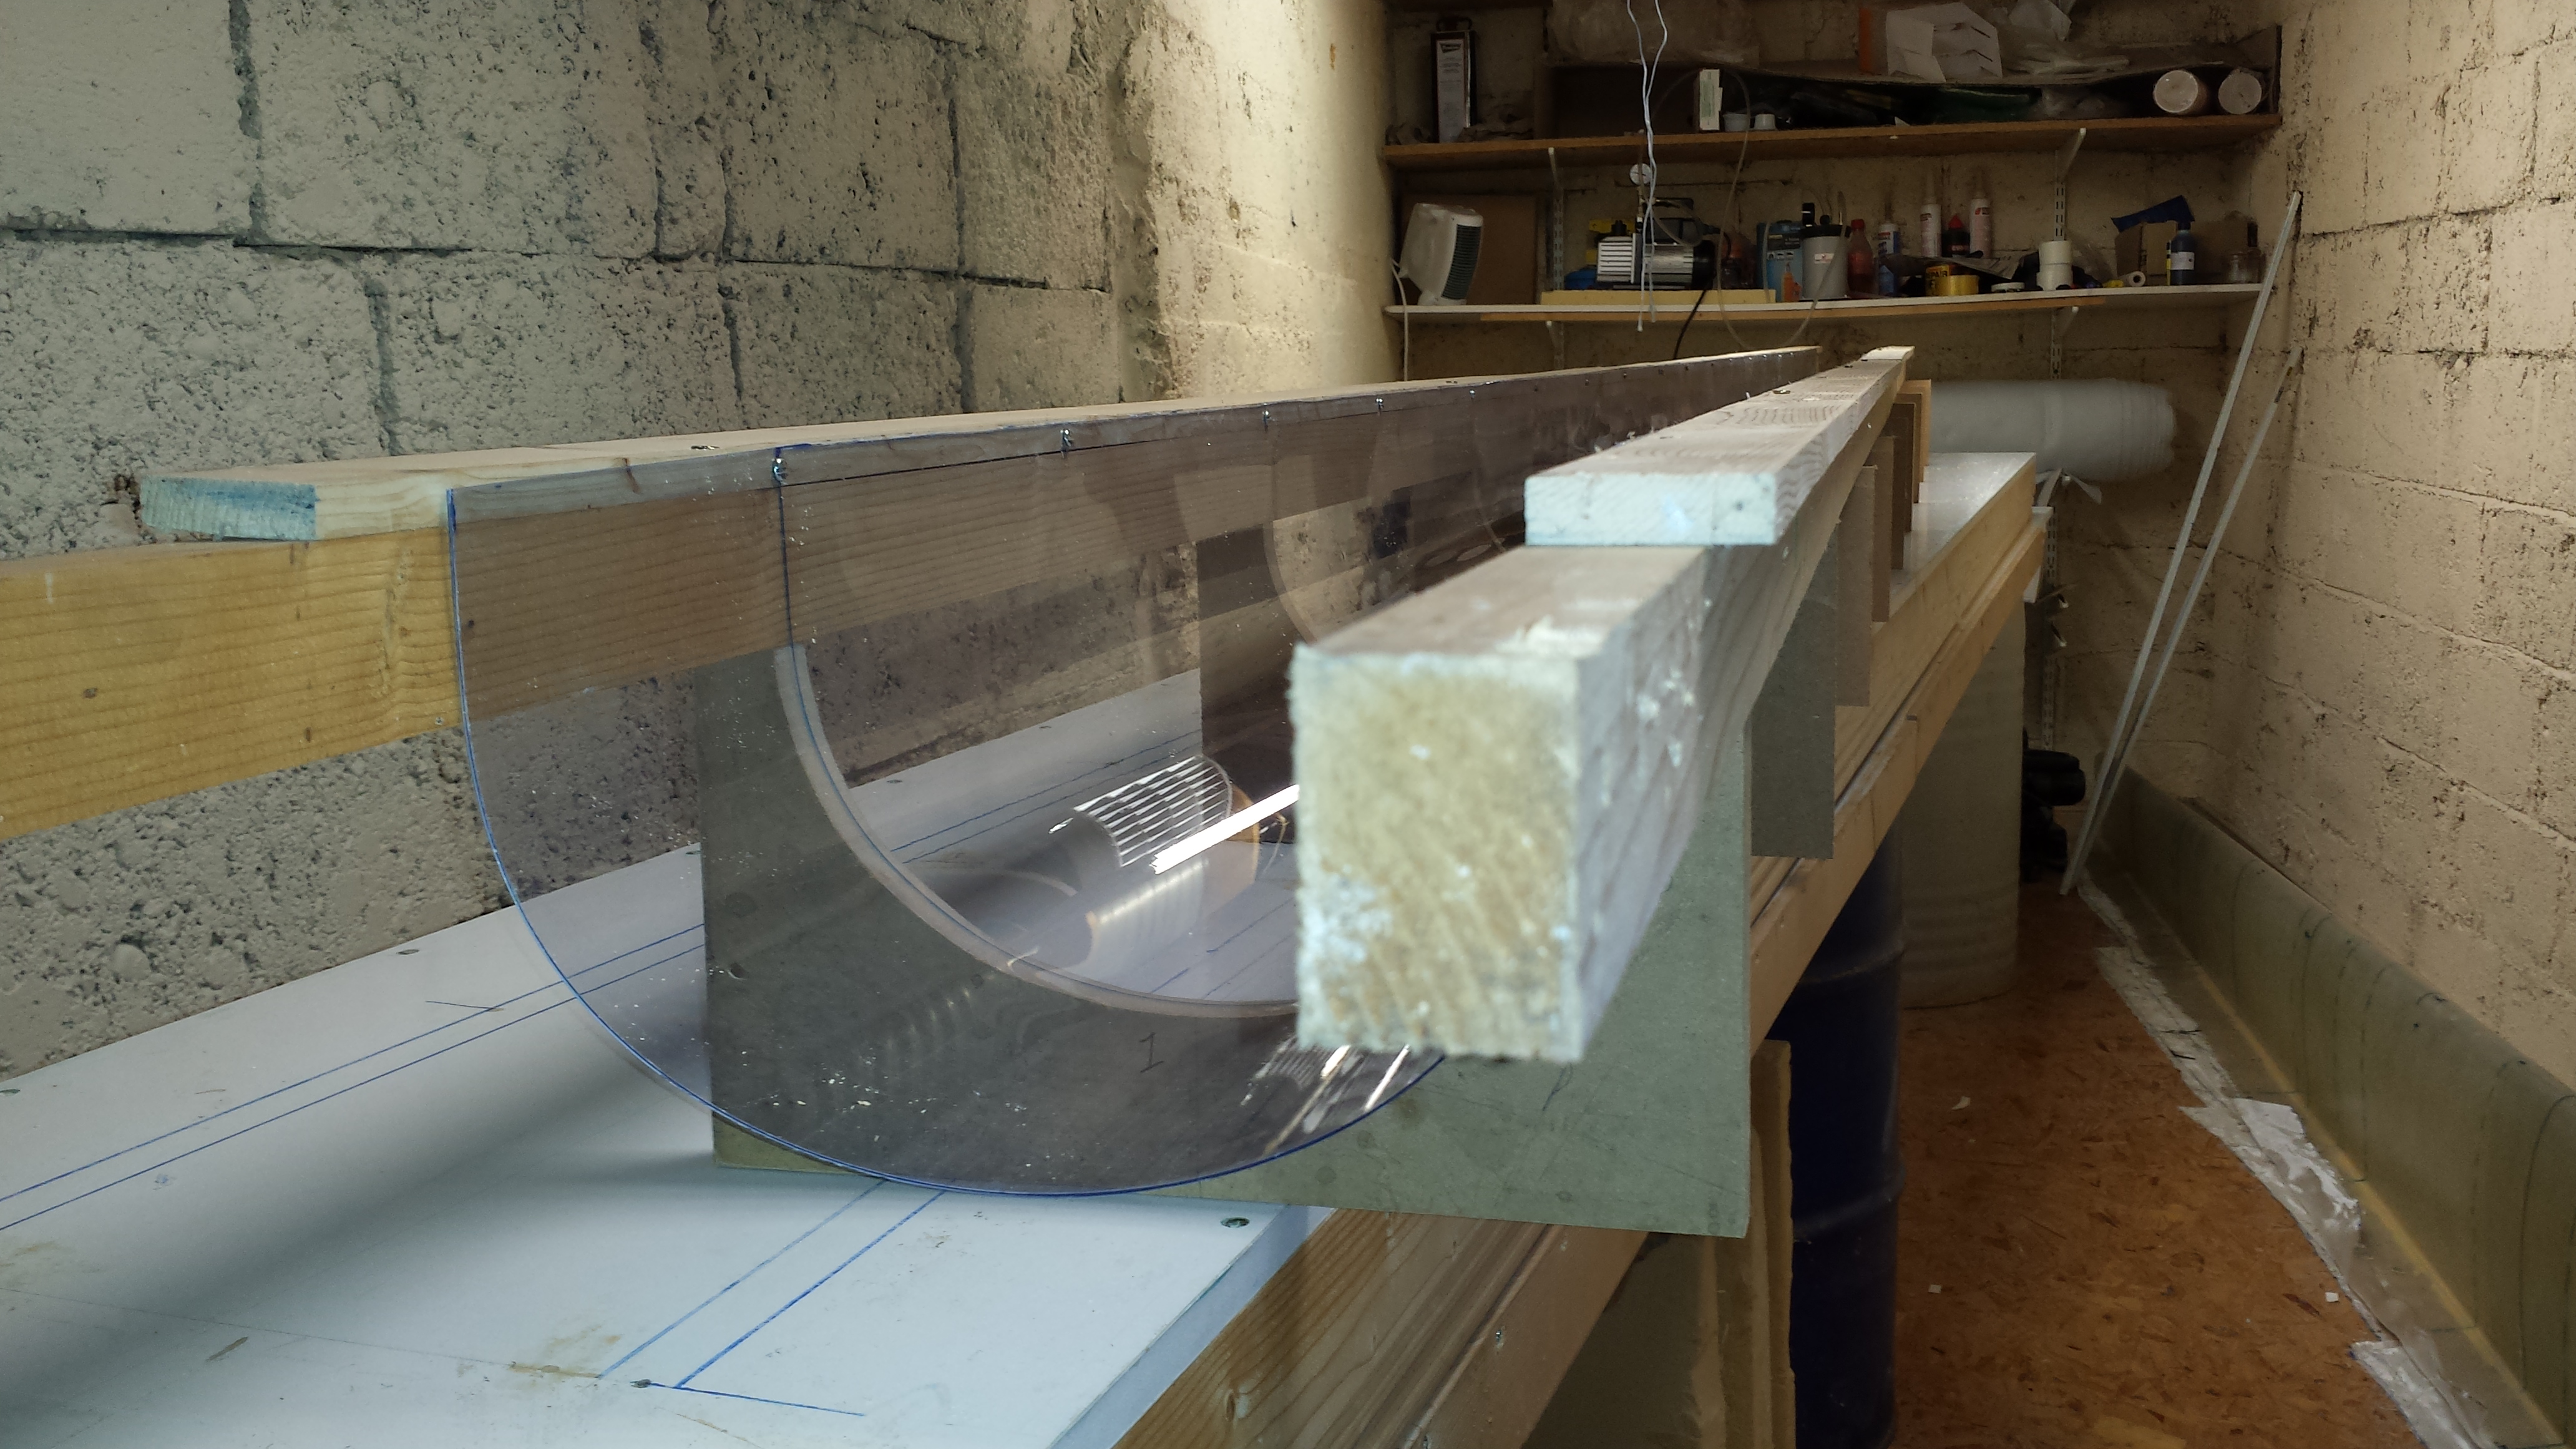
The long edges of the plastic mold liner were not screwed directly to the 2" x 1" stringers but to two separate strips of 2" x 1/2" wood above these. One of these strips was screwed down tight to its 2" stringer and the the plastic pushed into the MDF formers until it took the desired shape as closely as possible. The second side strip of wood was also screwed down to its 2" stringer but the amount of pressure exerted on the plastic could be controlled by how much each of these screws was tightened. This ensured an even distribution of pressure on the plastic liner and perfect conformity to the formers. I found that if I didn't do this then the plastic would warp and buckle in places.
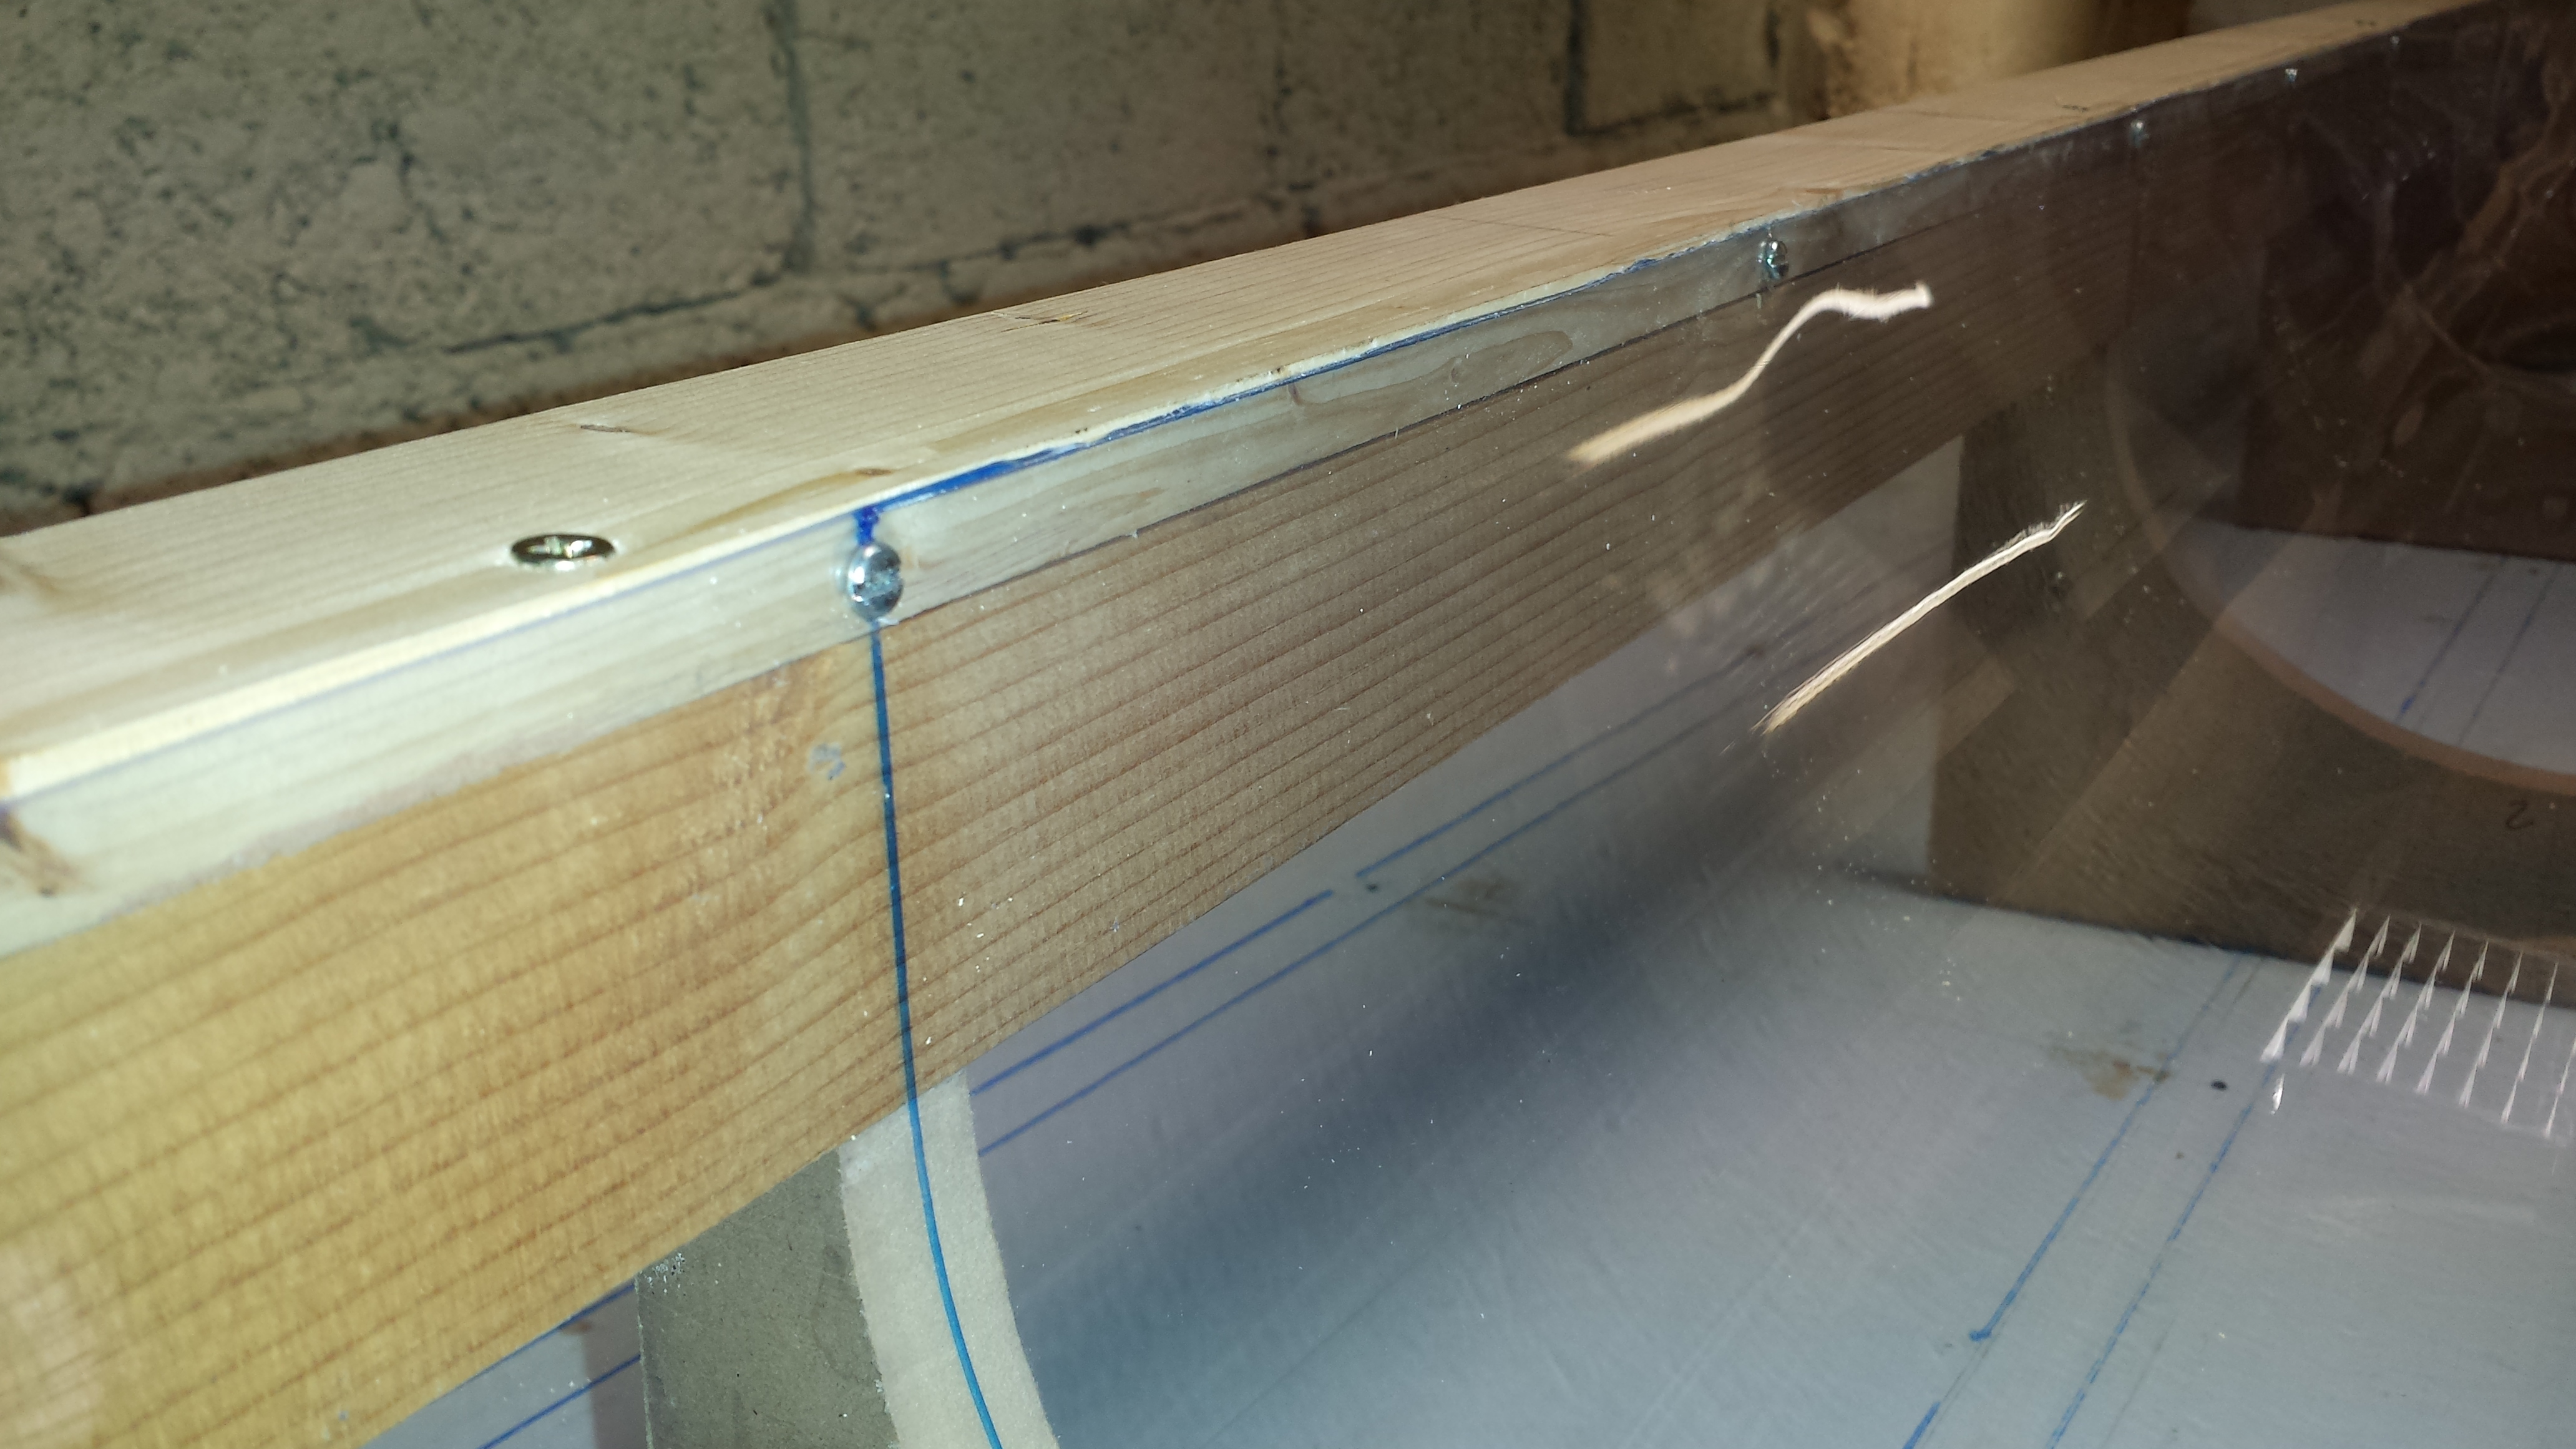
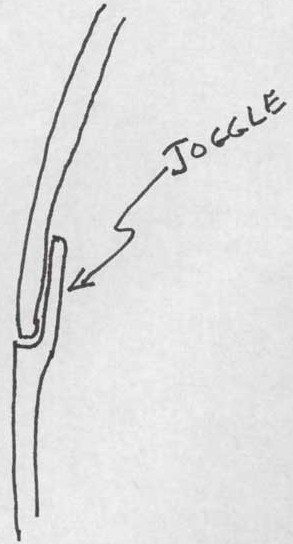
Four layers of PVC tape were laid onto each edge of the mold to create a joggle joint for joining the two halves of the tail boom skin. A 2" wide strip of peel ply was laid over the tape and held in place by small snippets of masking tape to create a suitable surface for bonding the two halves of the tail book skin together.
The plastic mold liner was waxed and received a coat of PVA release agent in the usual manner.
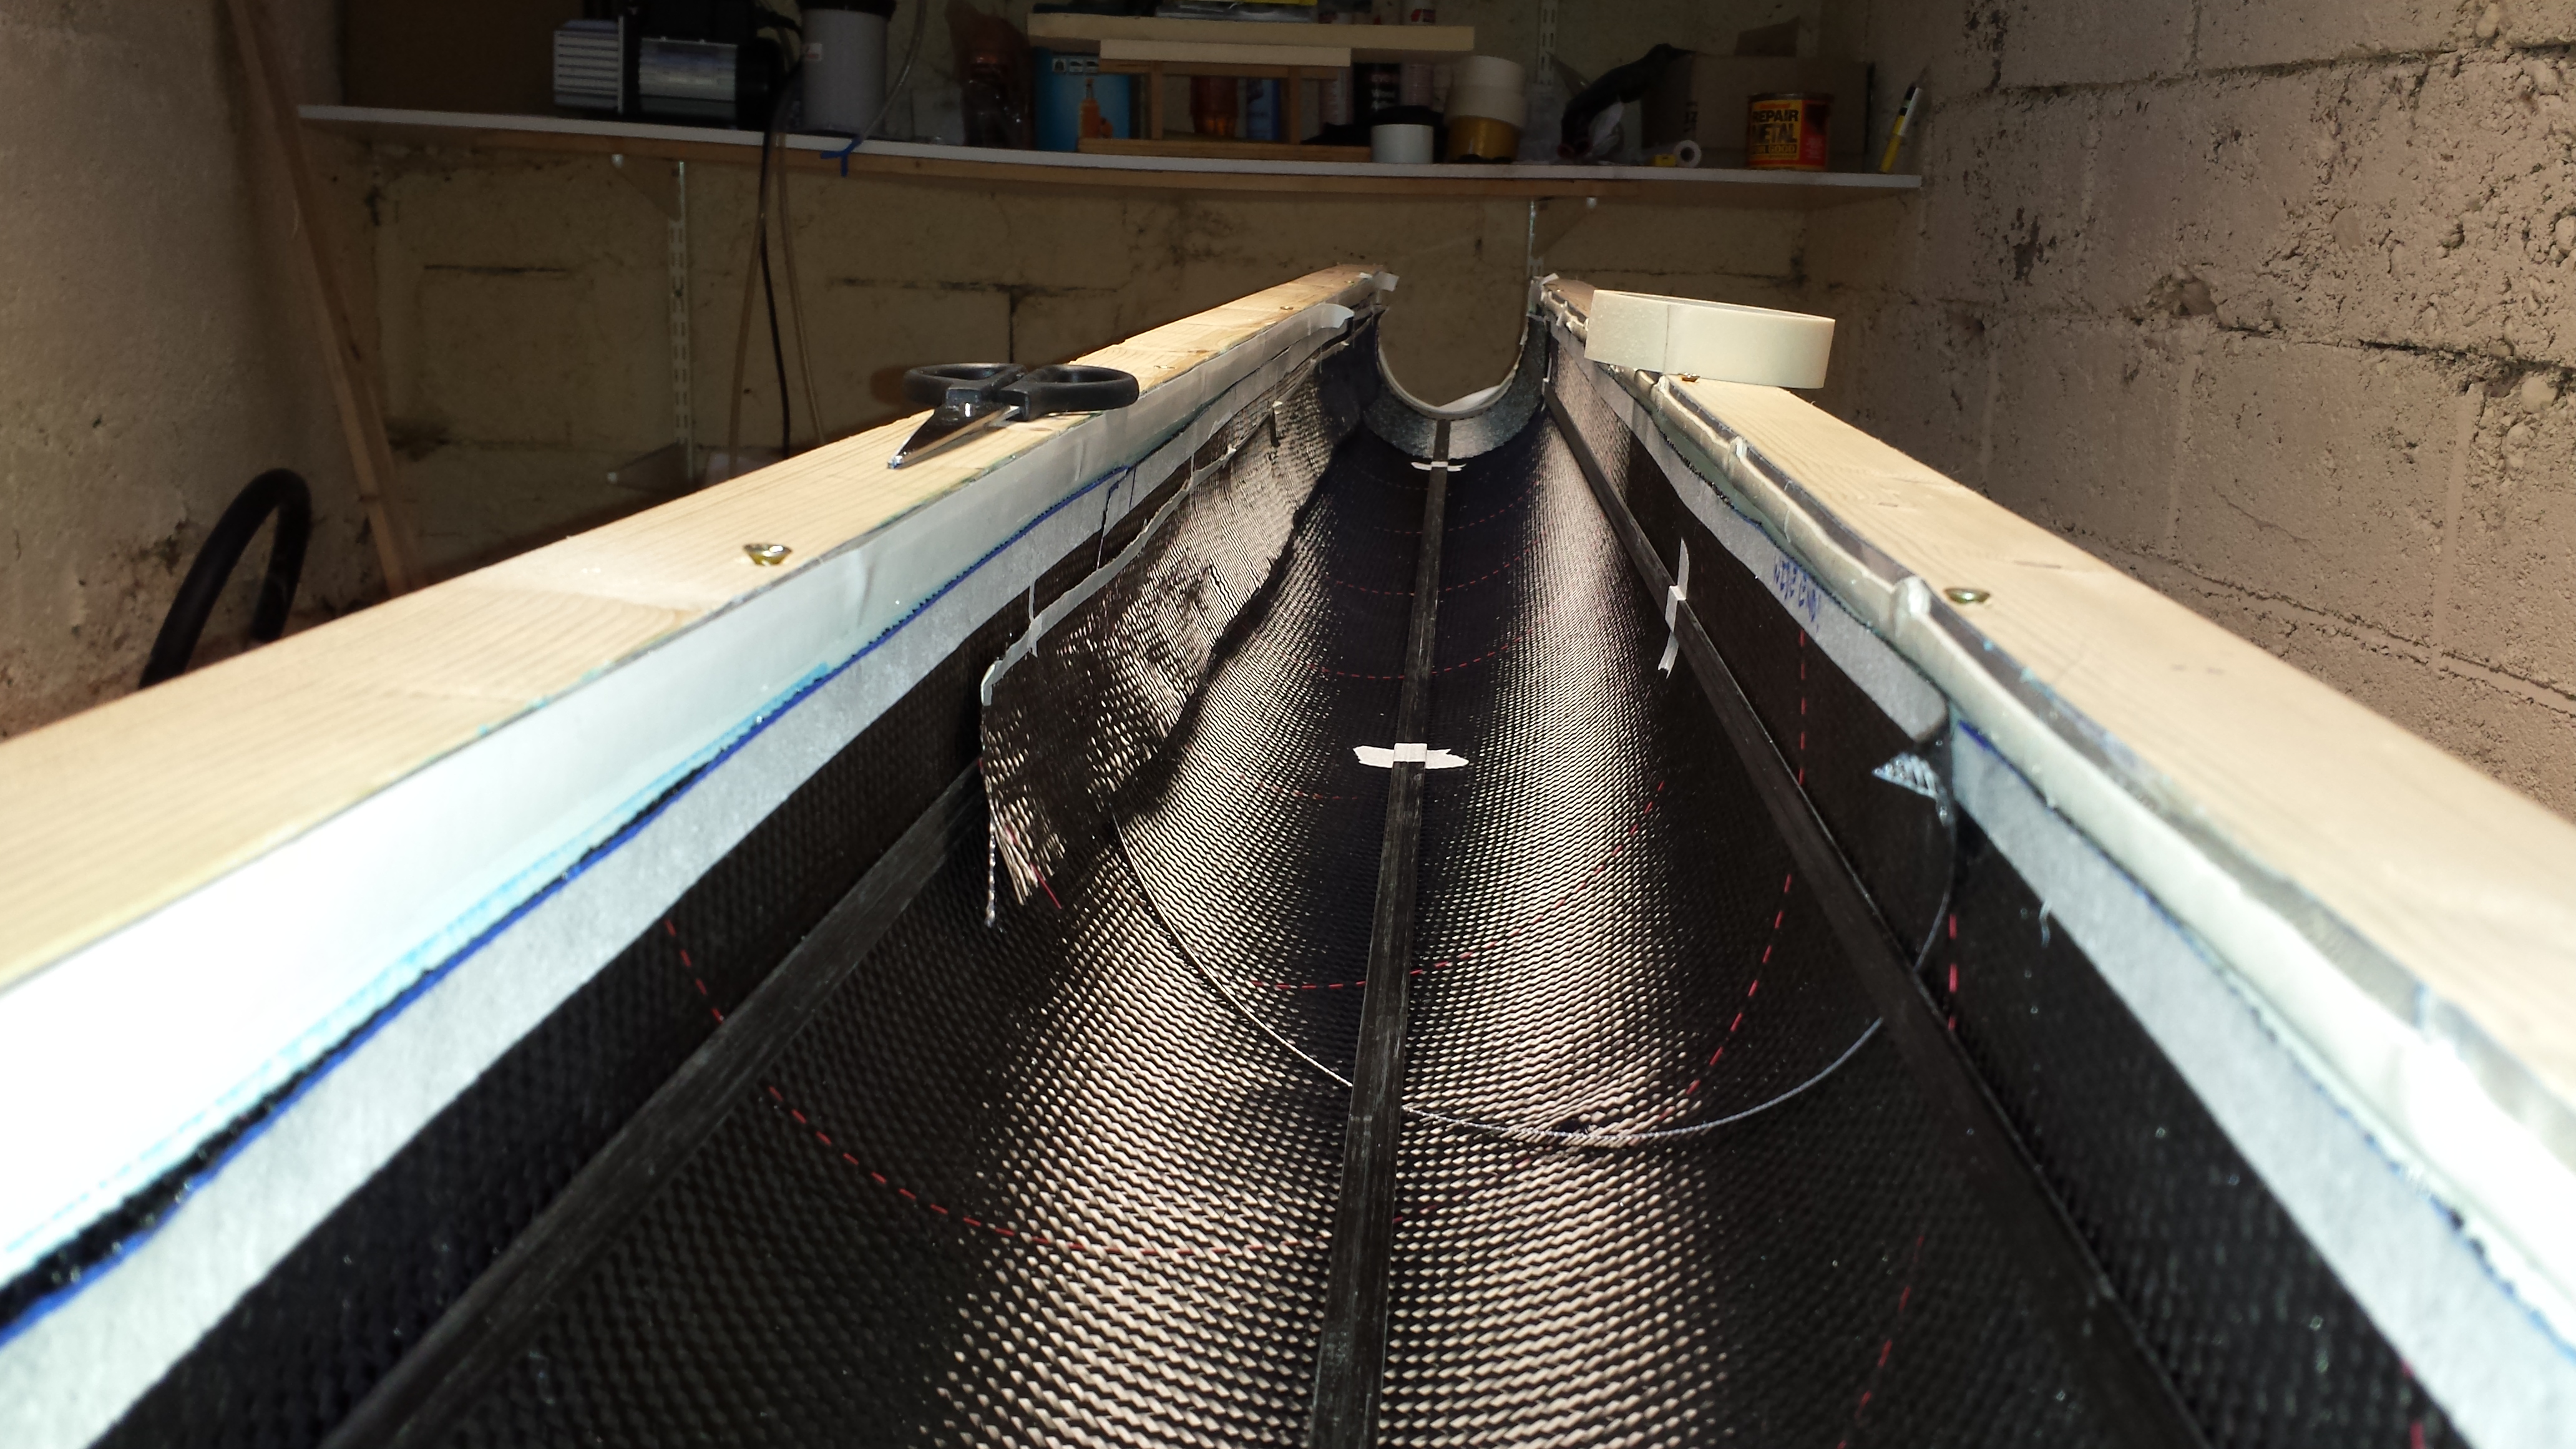
The original builders manual specifies that the carbon cloth should be laid up in a spiral down the length of the tail boom. This is easily achieved by creating a template and laying it over the CF cloth. Masking tape is used to stabilise the edges of the cloth and prevent fraying while handling it during the lay-up process. The two layers of CF cloth are laid up at +45° and -45° to the long axis of the tail boom.
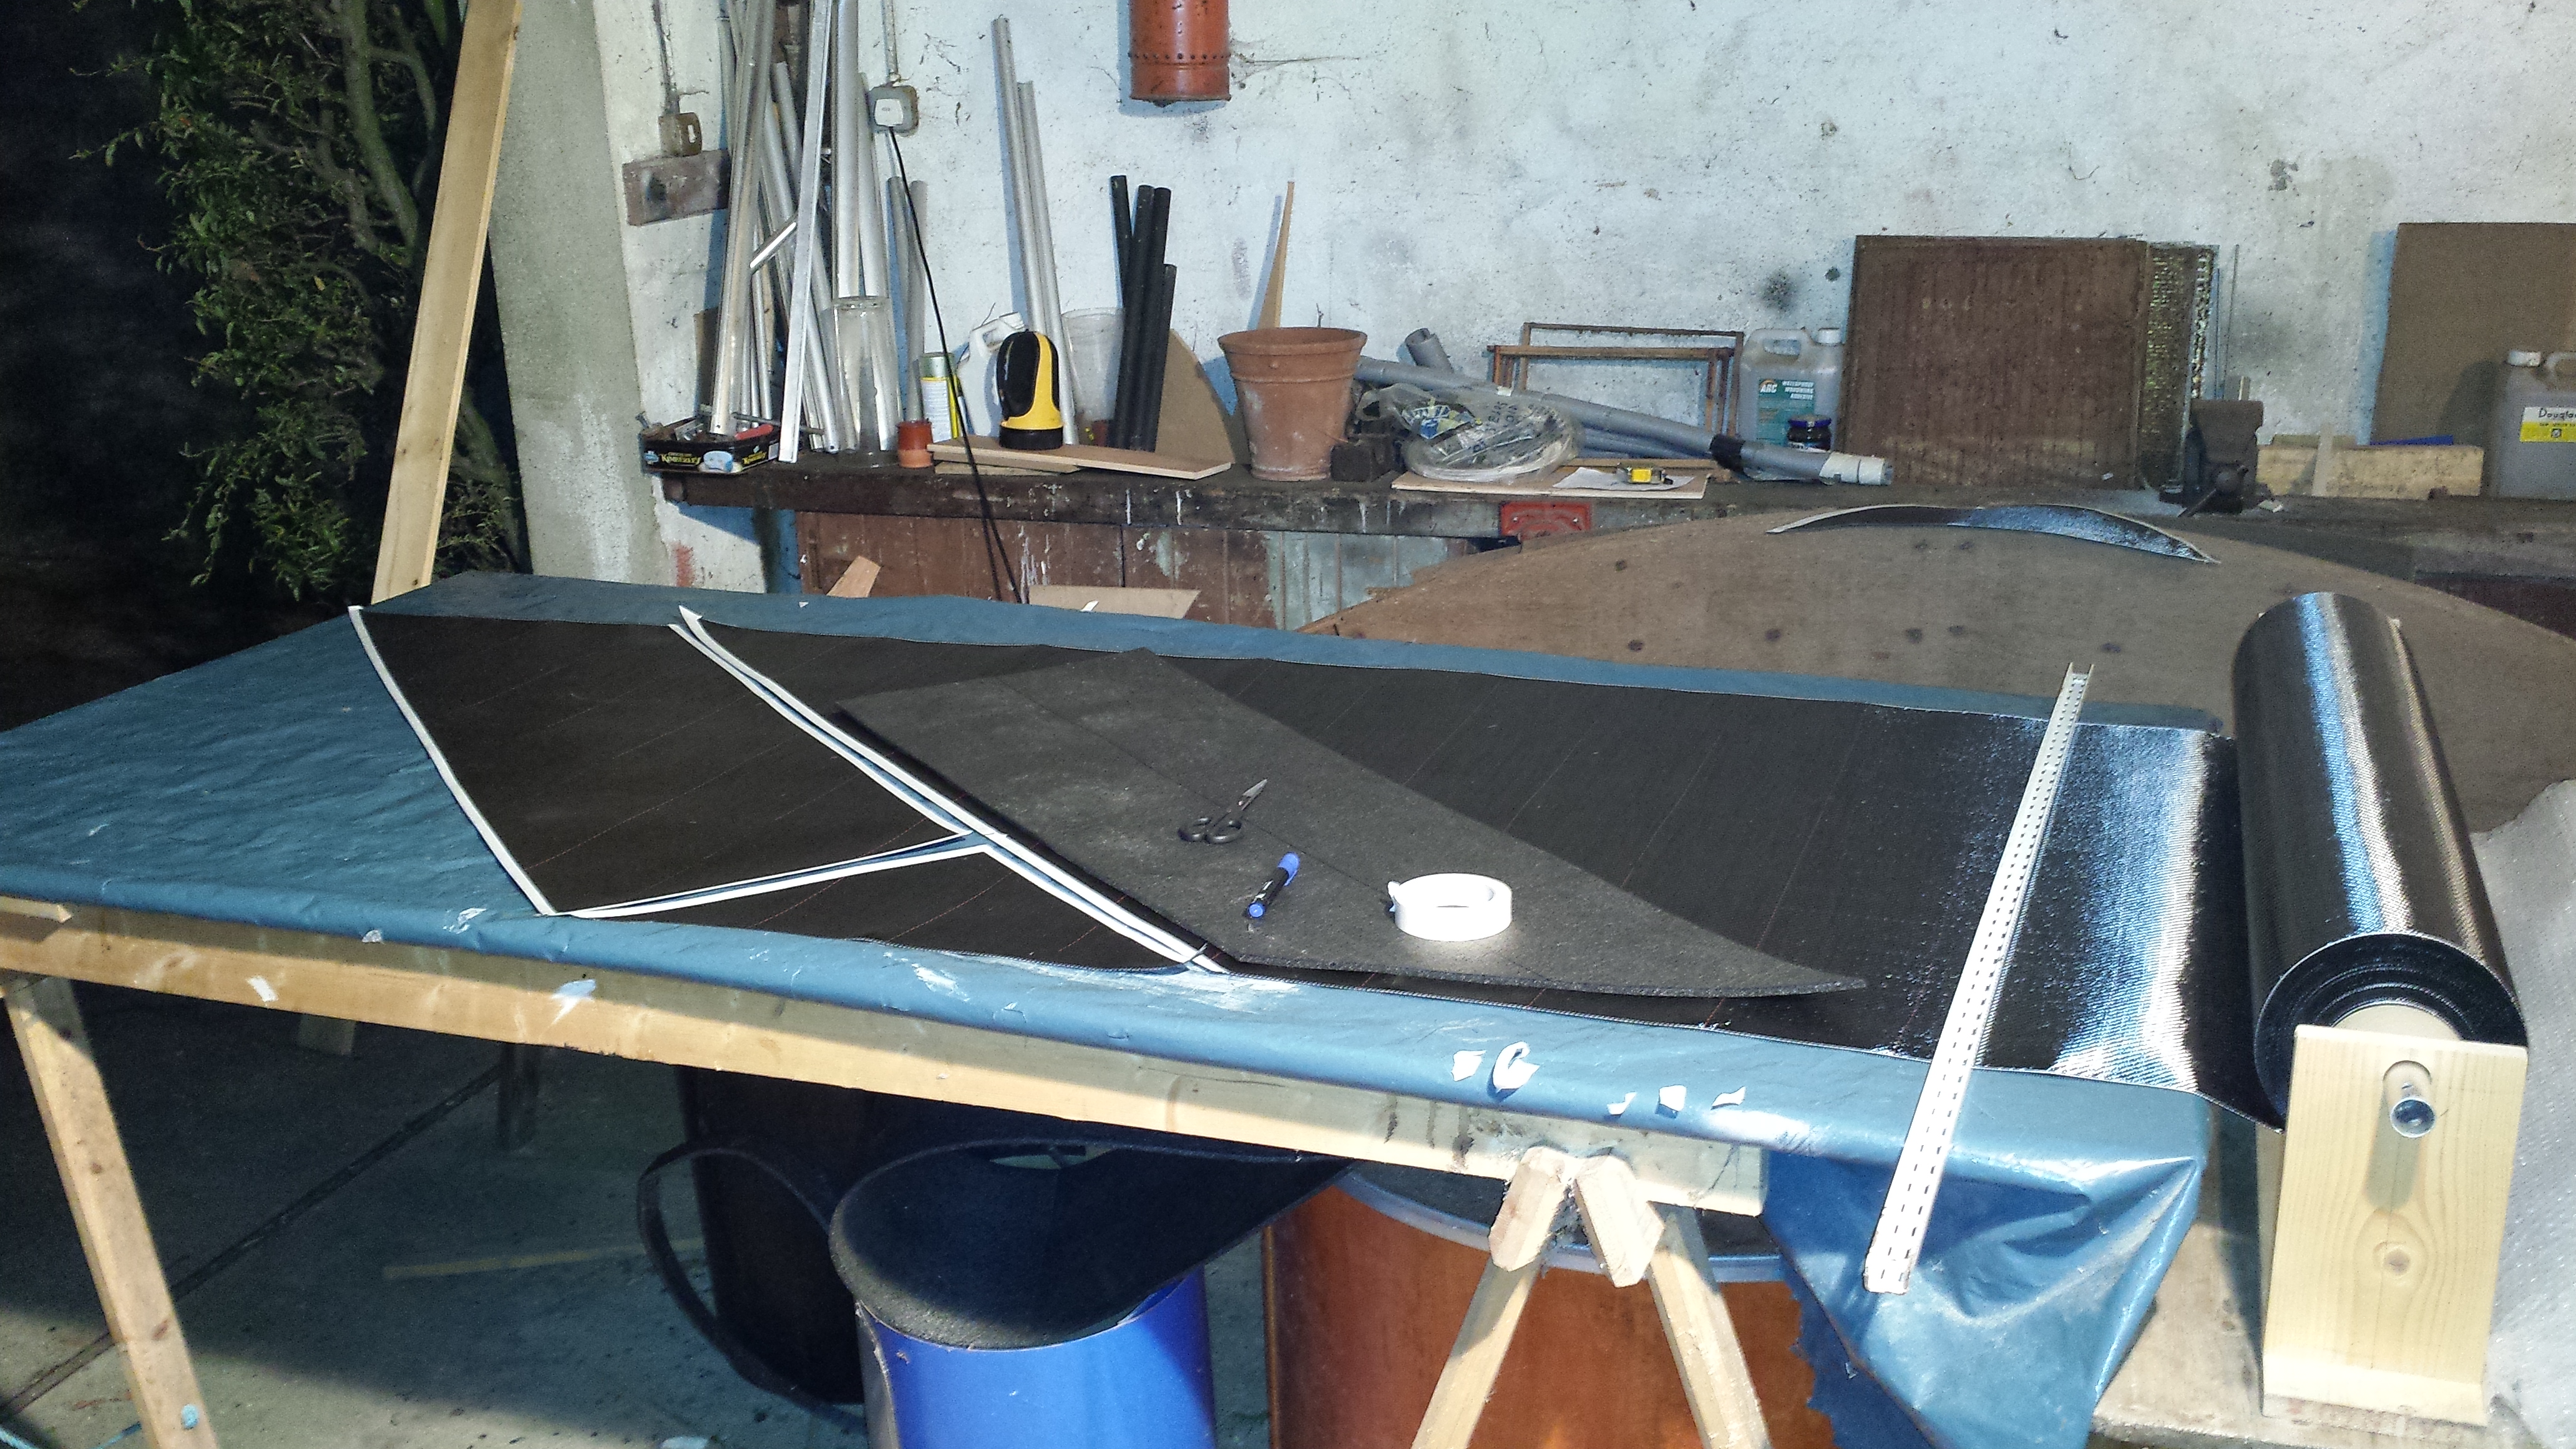
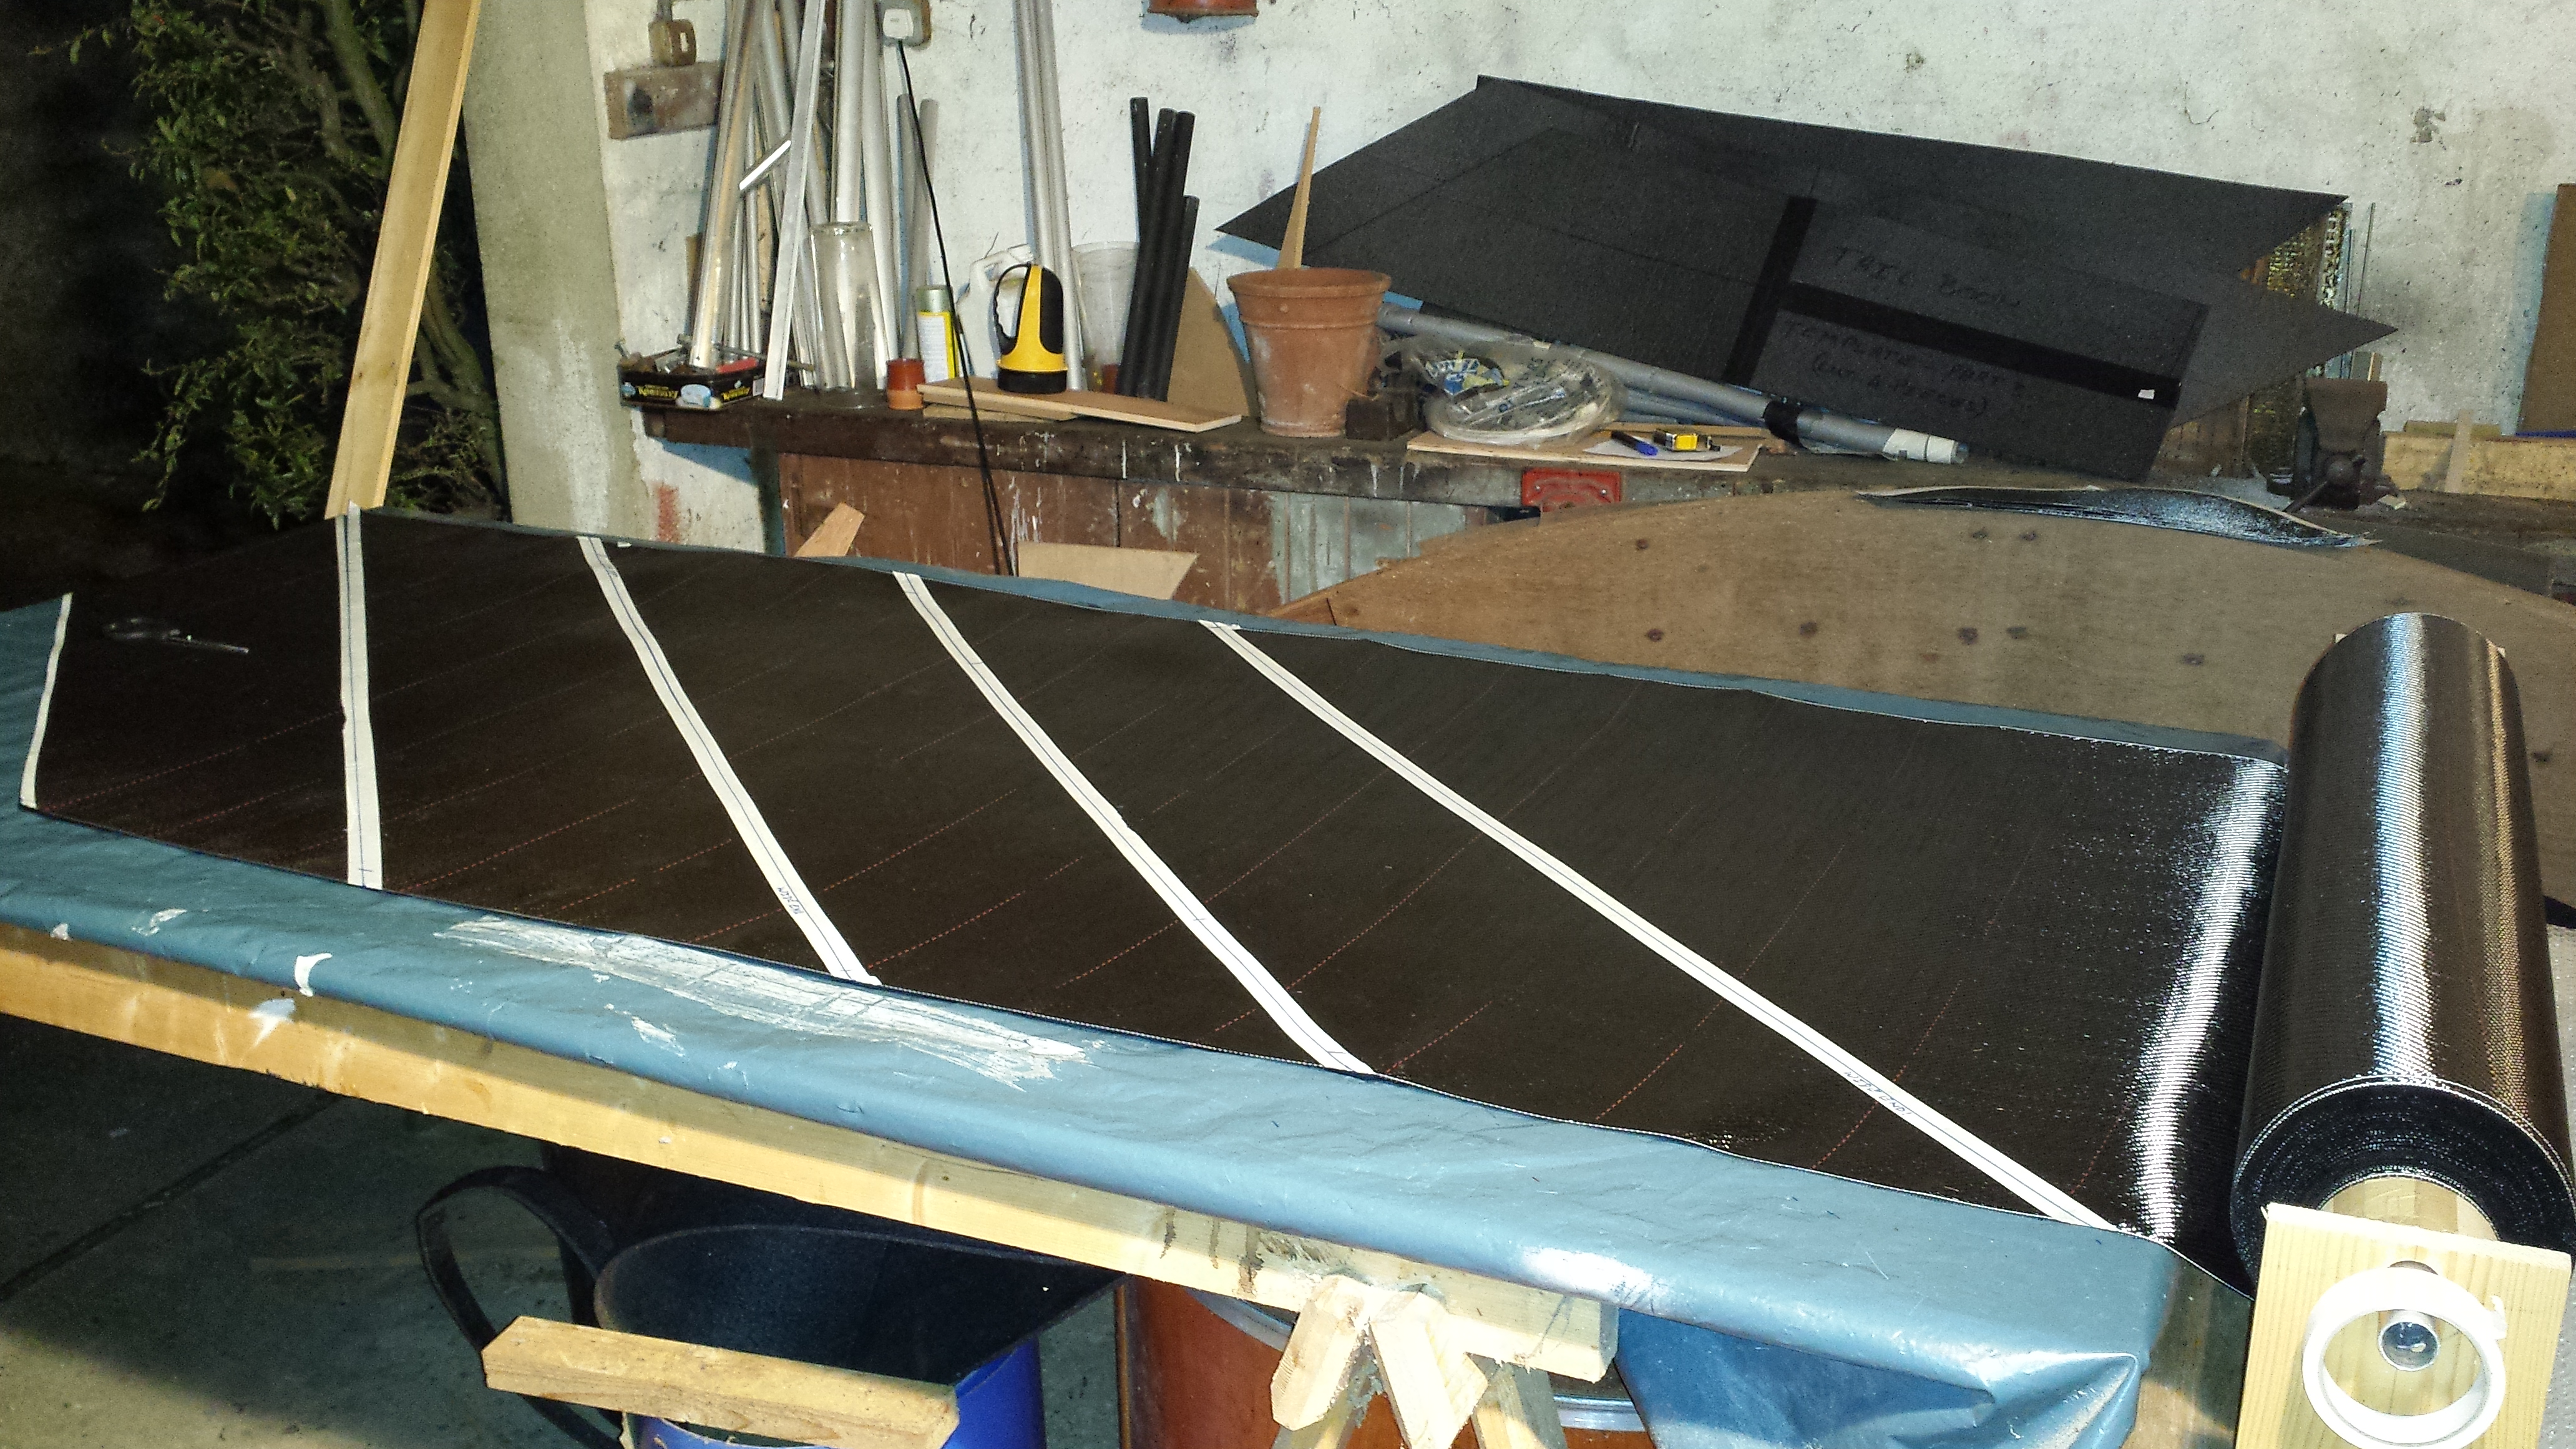
The masking tape, used to stabilise the cut edges of the carbon cloth makes aligning it (and the other layers in the stack) much easier and neater than loose edges, which frey and shift when moved.
After the carbon cloth is laid into the mold, the carbon rod pairs are positioned and held in place using small pieces of masking tape.
The carbon rods are then covered by 3" wide strips of carbon cloth cut at 45° to the wieve (just like the tail boom skins.)
The peel ply, flow mesh and spiral infusion tubing go in next...
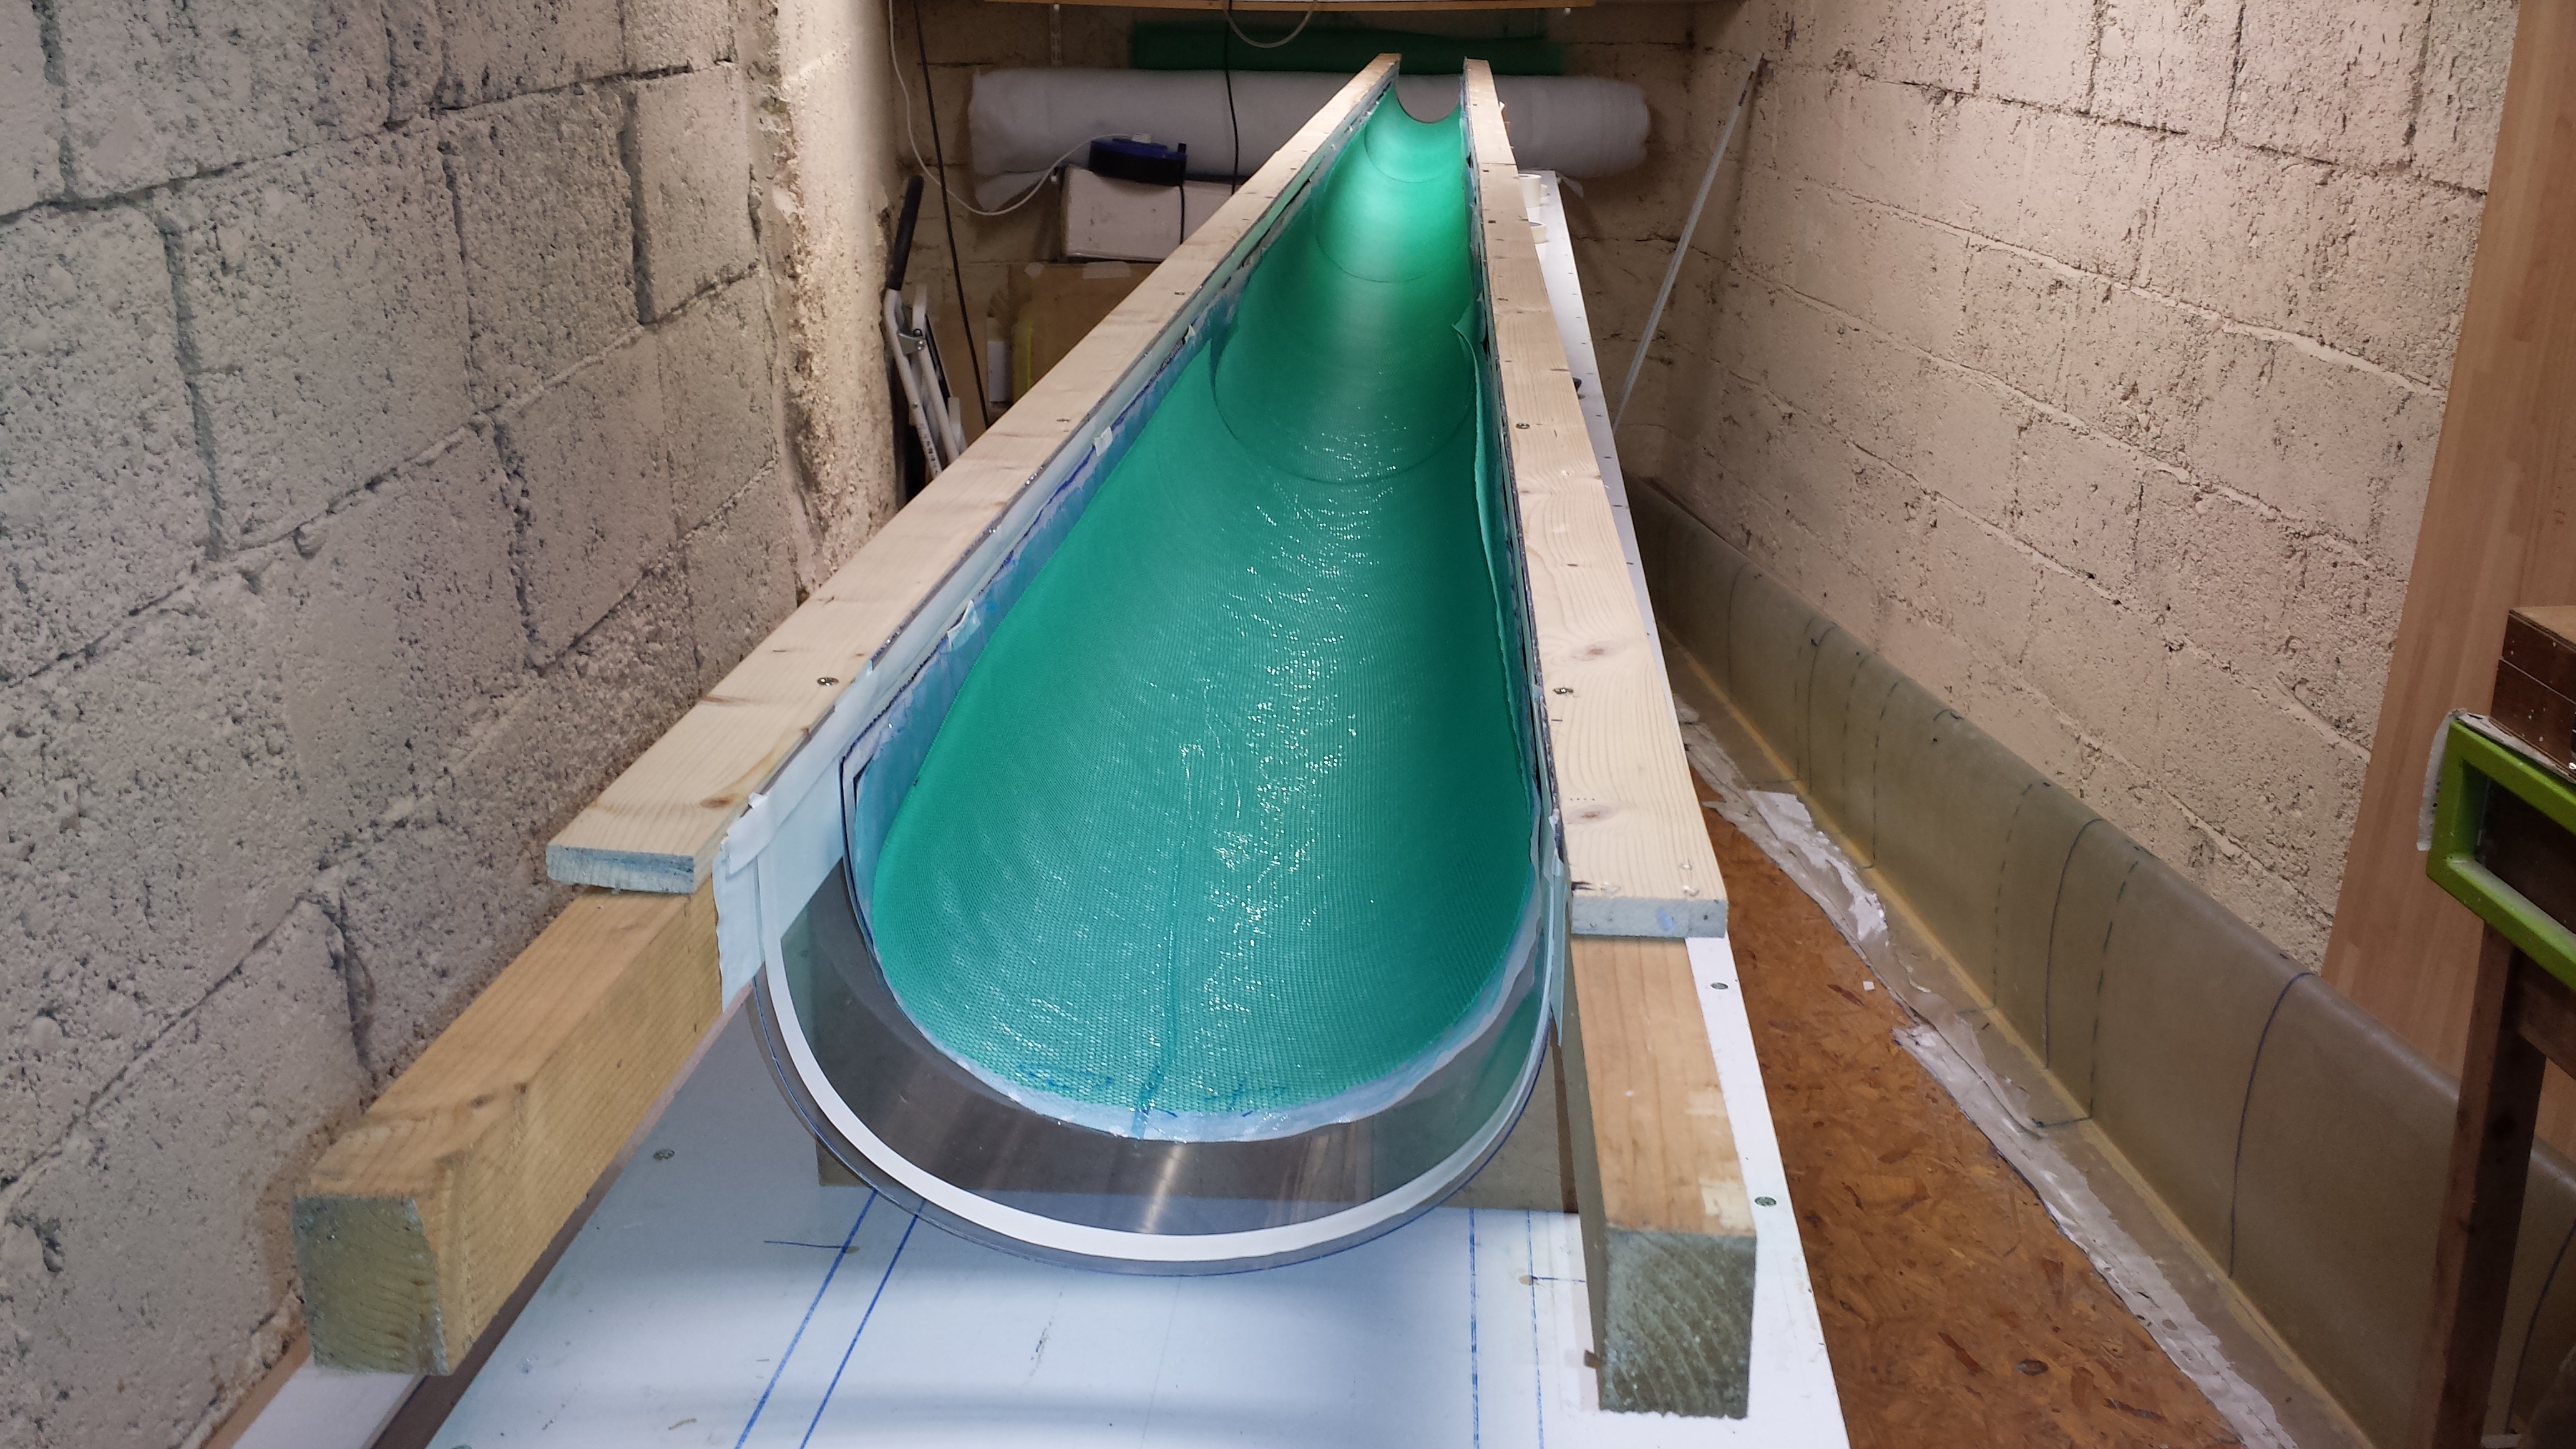
Followed by the vacuum bag, ports and PVC tubing...
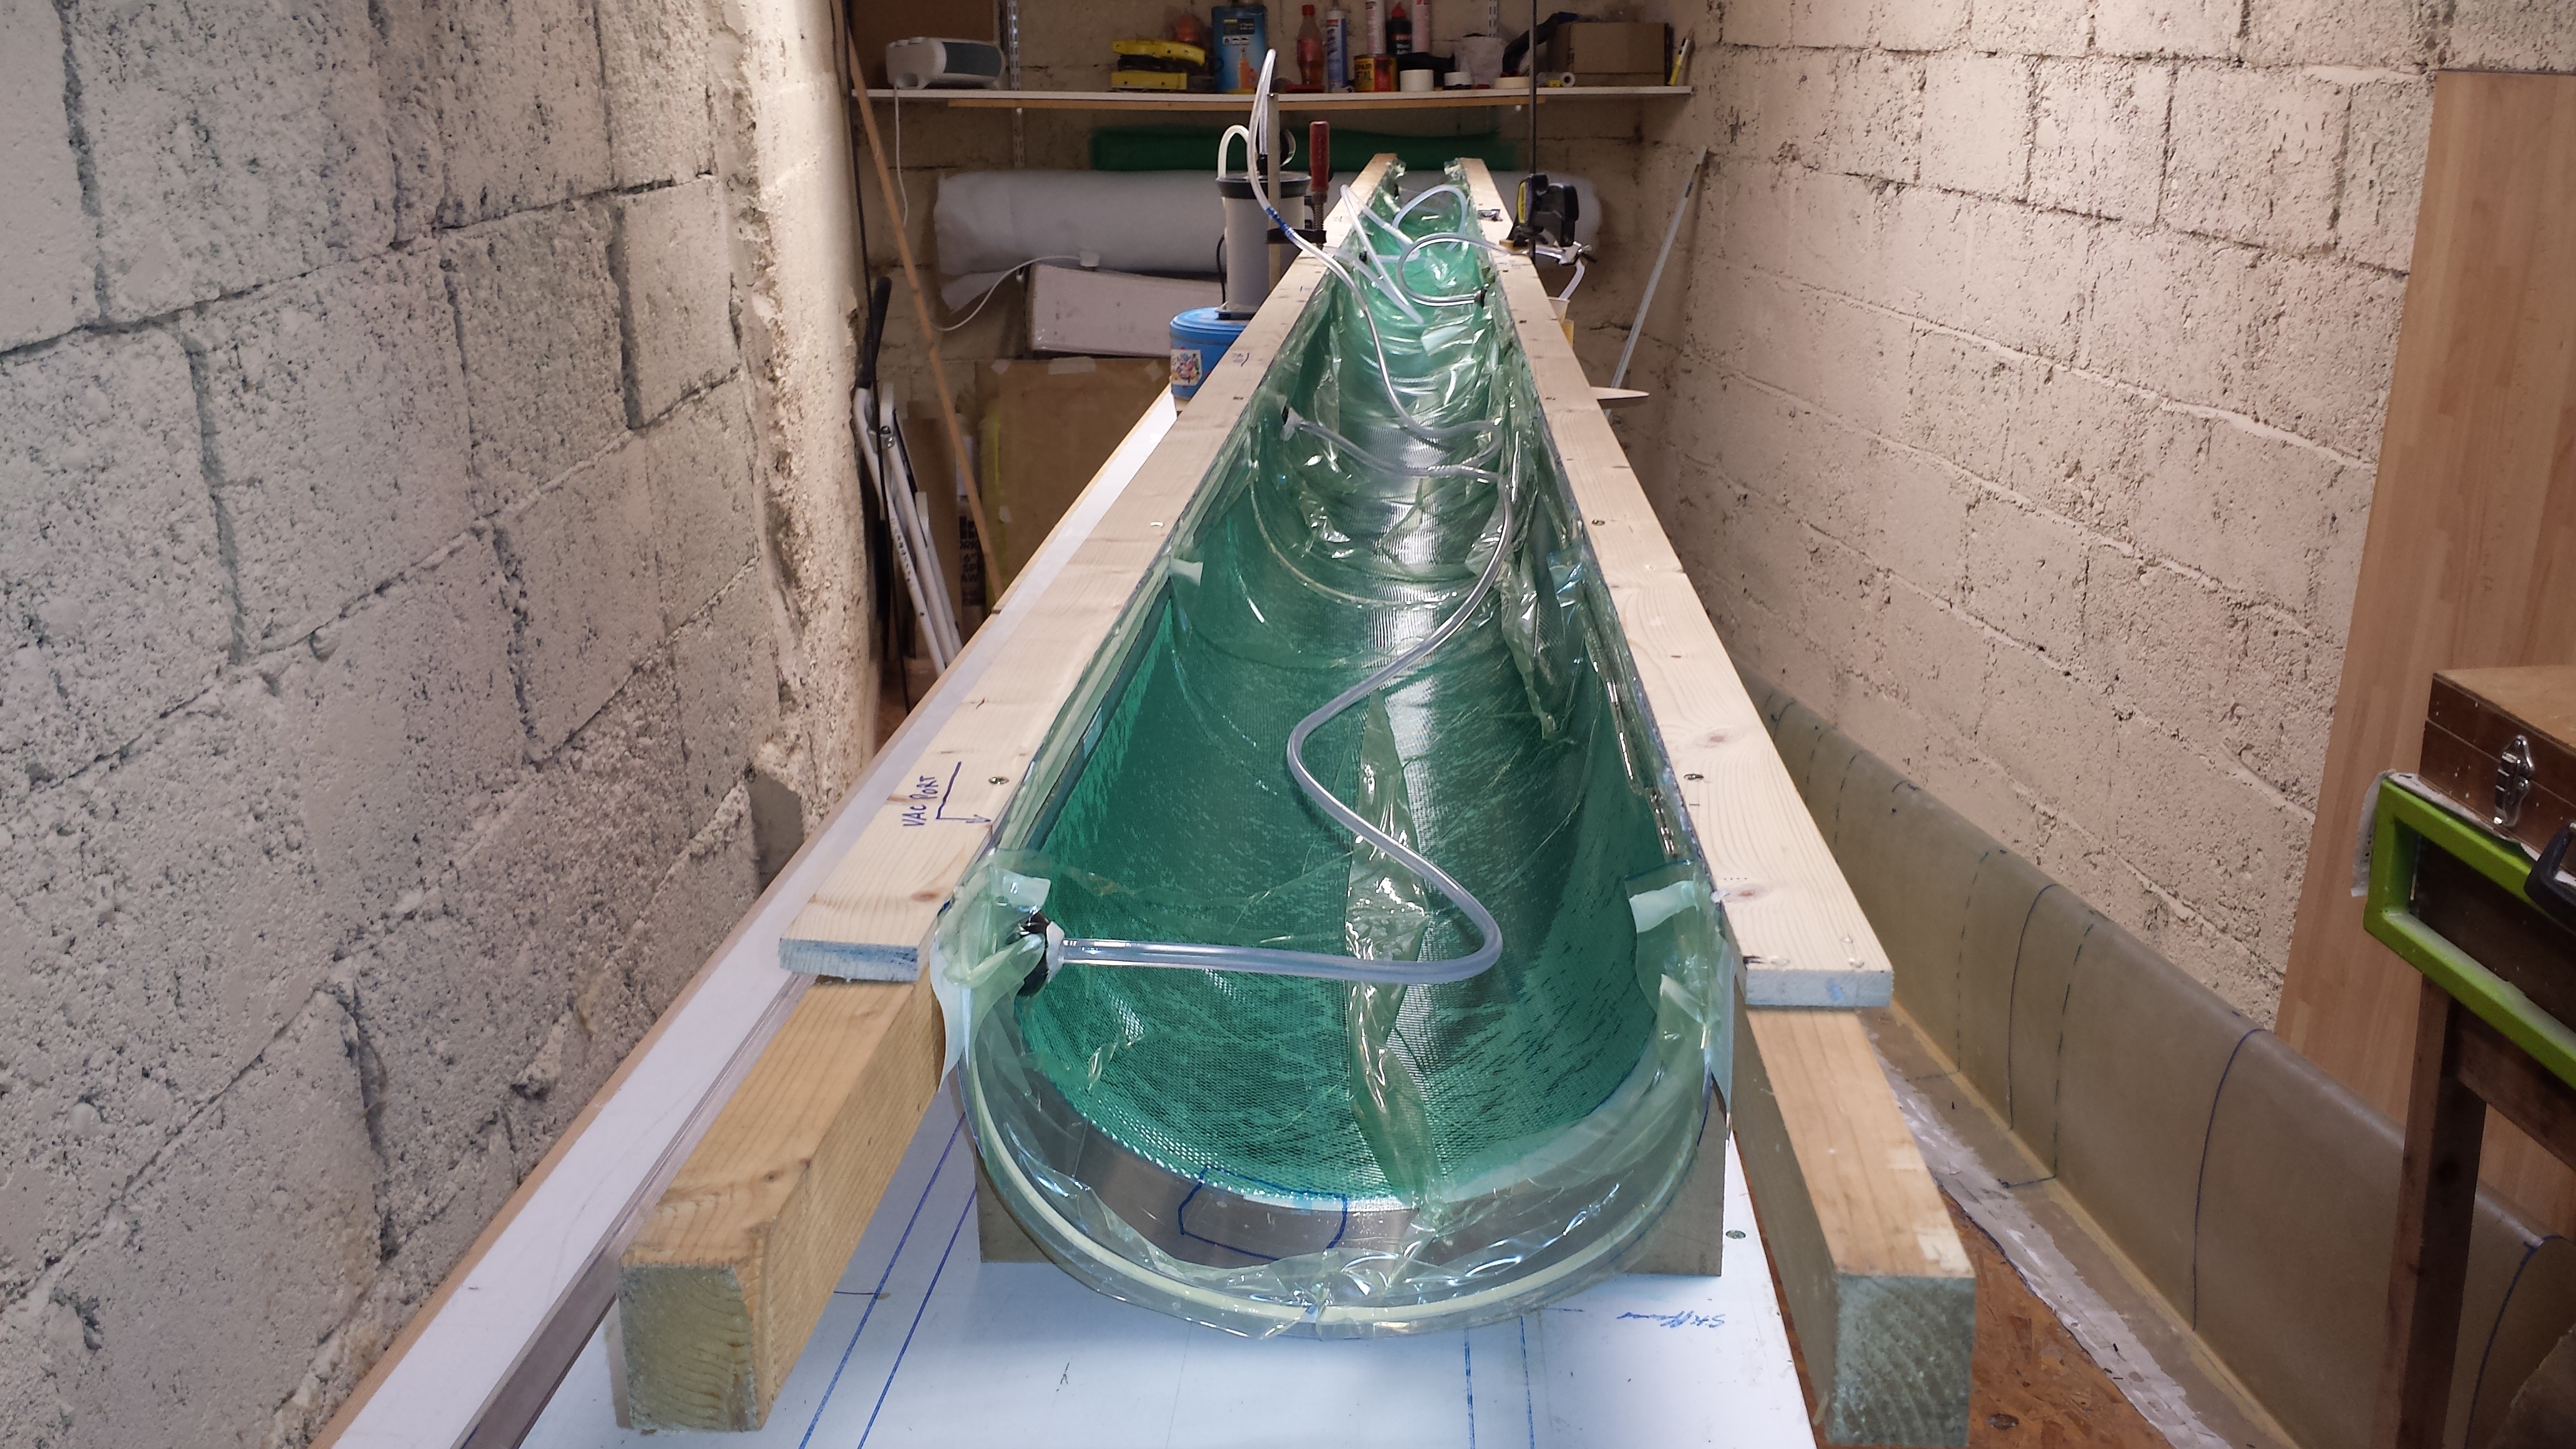
Then the air comes out... the resin goes in... and 24hrs later... perfection!
Pardon me, but... Phwooah! :-)
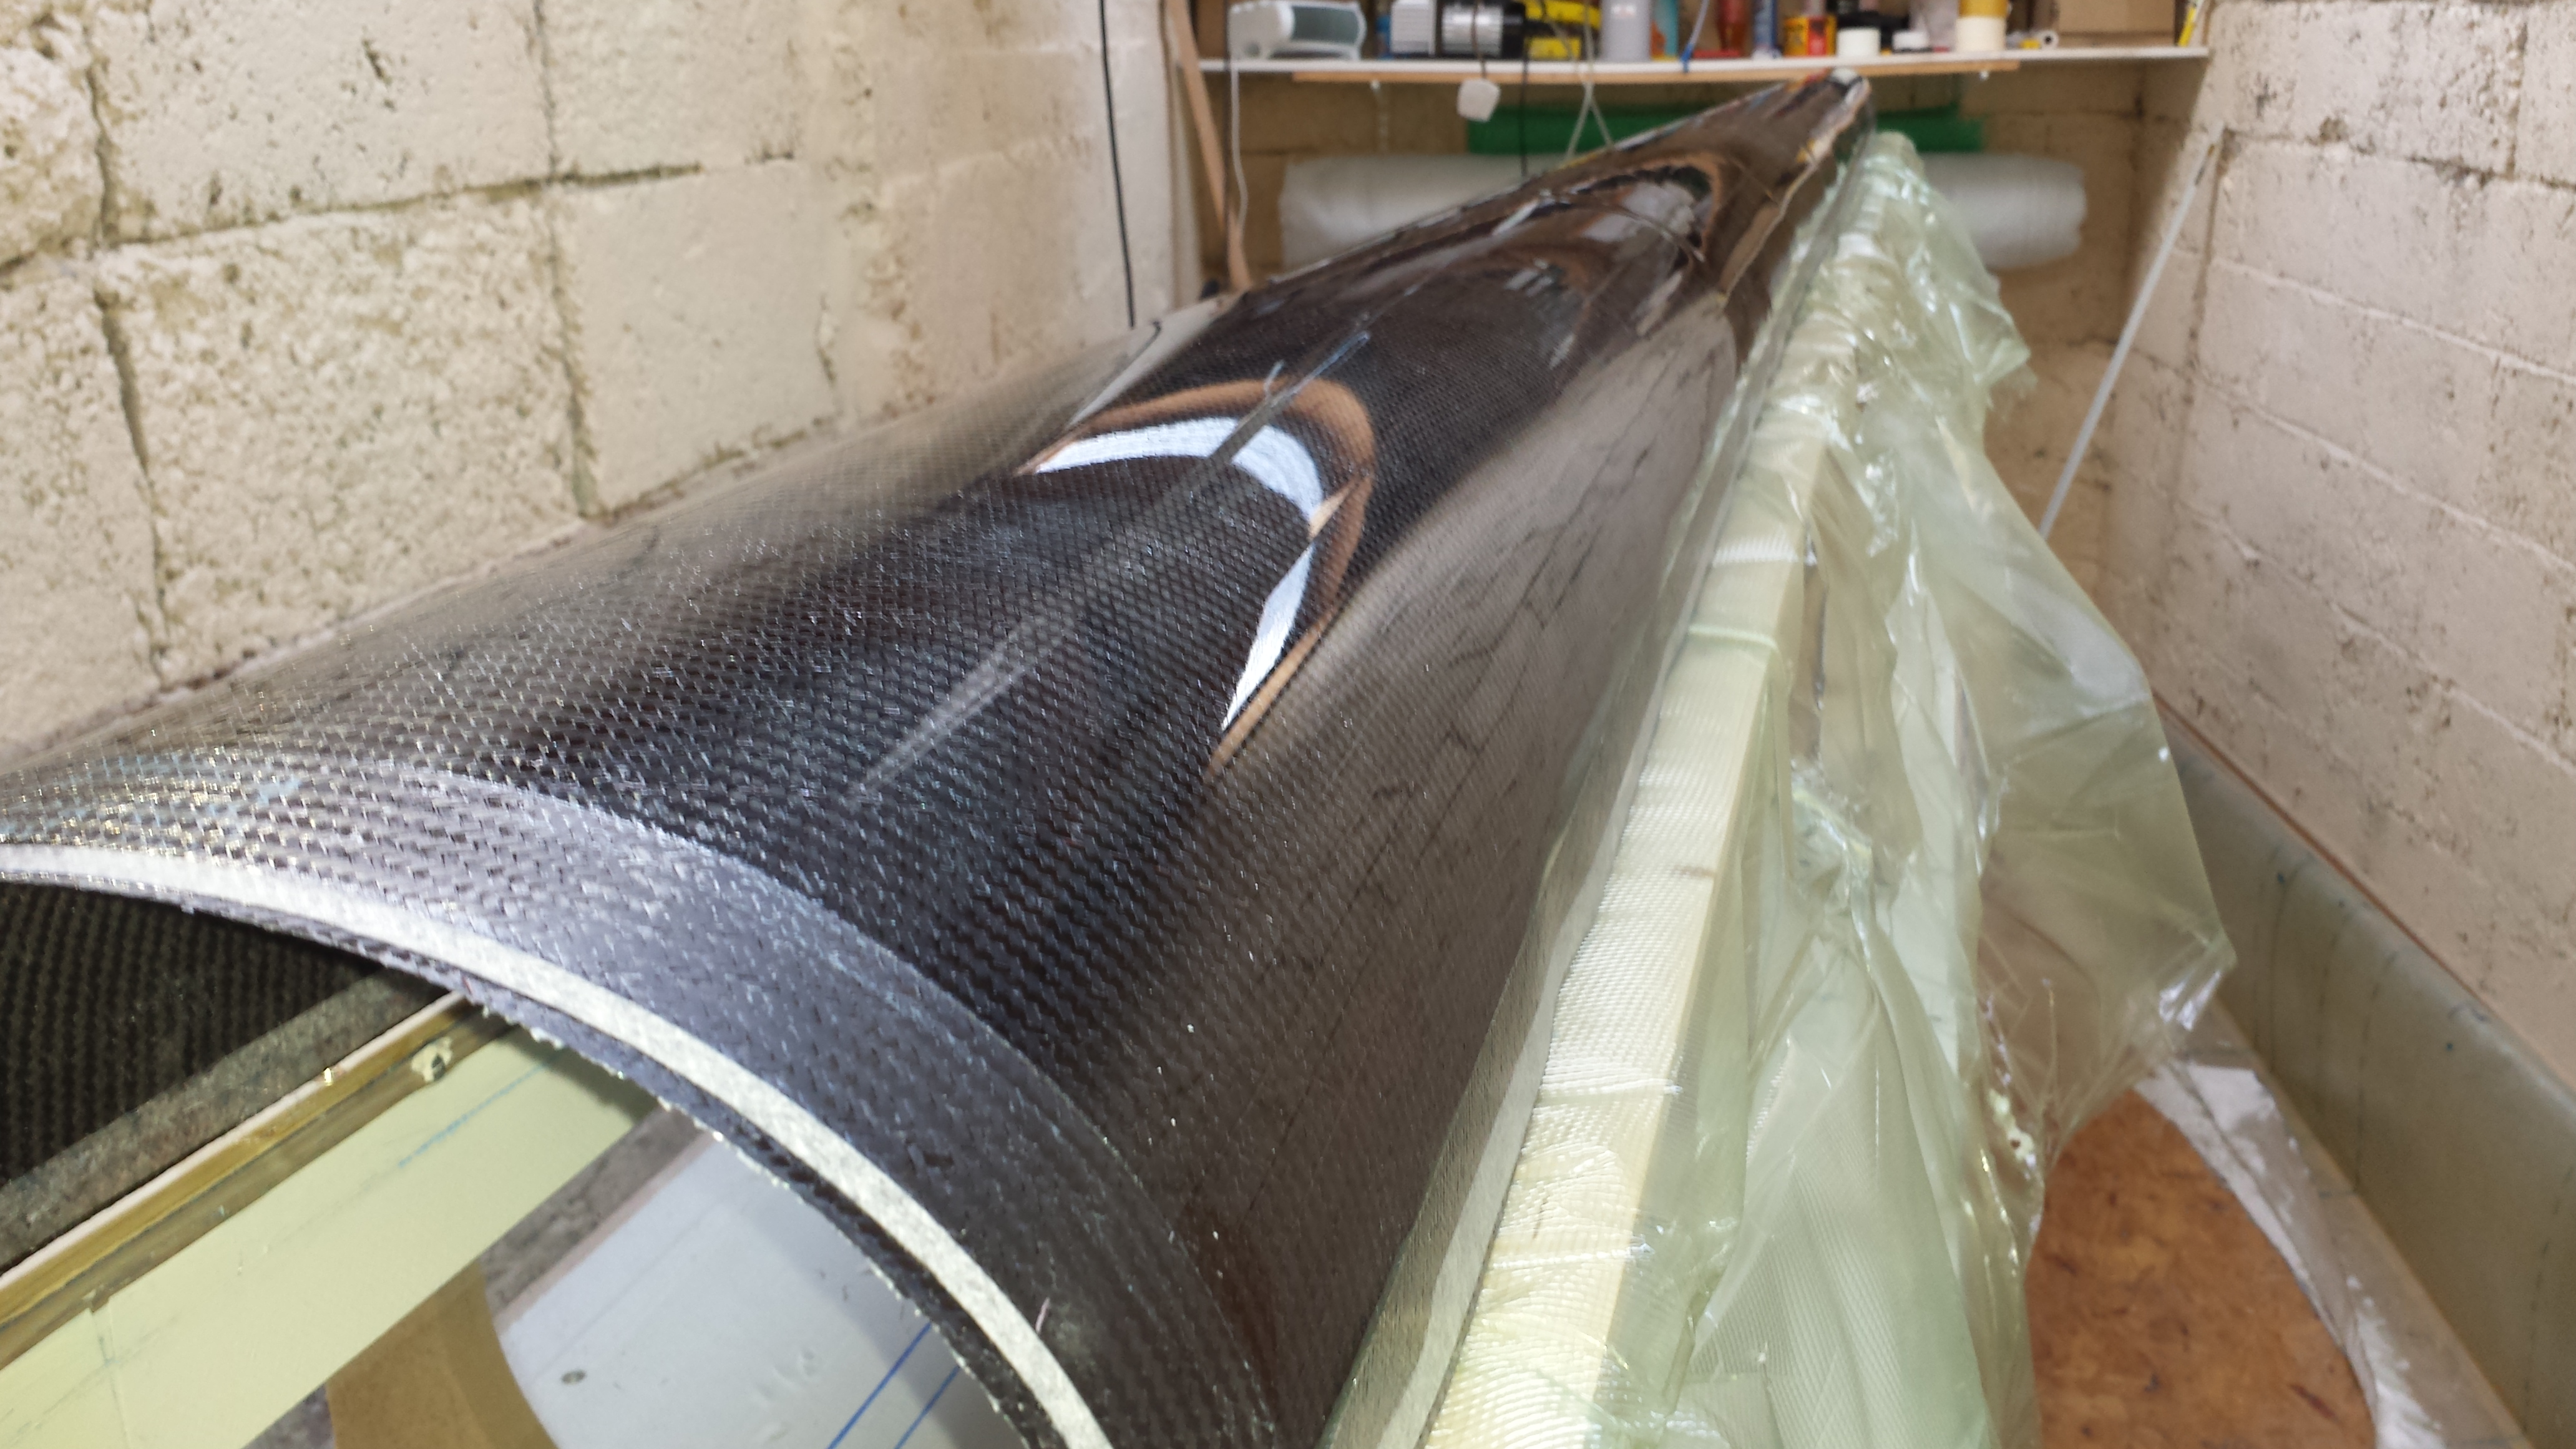
The strip of matt finish carbon at the end of the molded part, created by the PVC tape applied to the mold earlier, is trimmed away after the two halves of the tail boom has been bonded together.
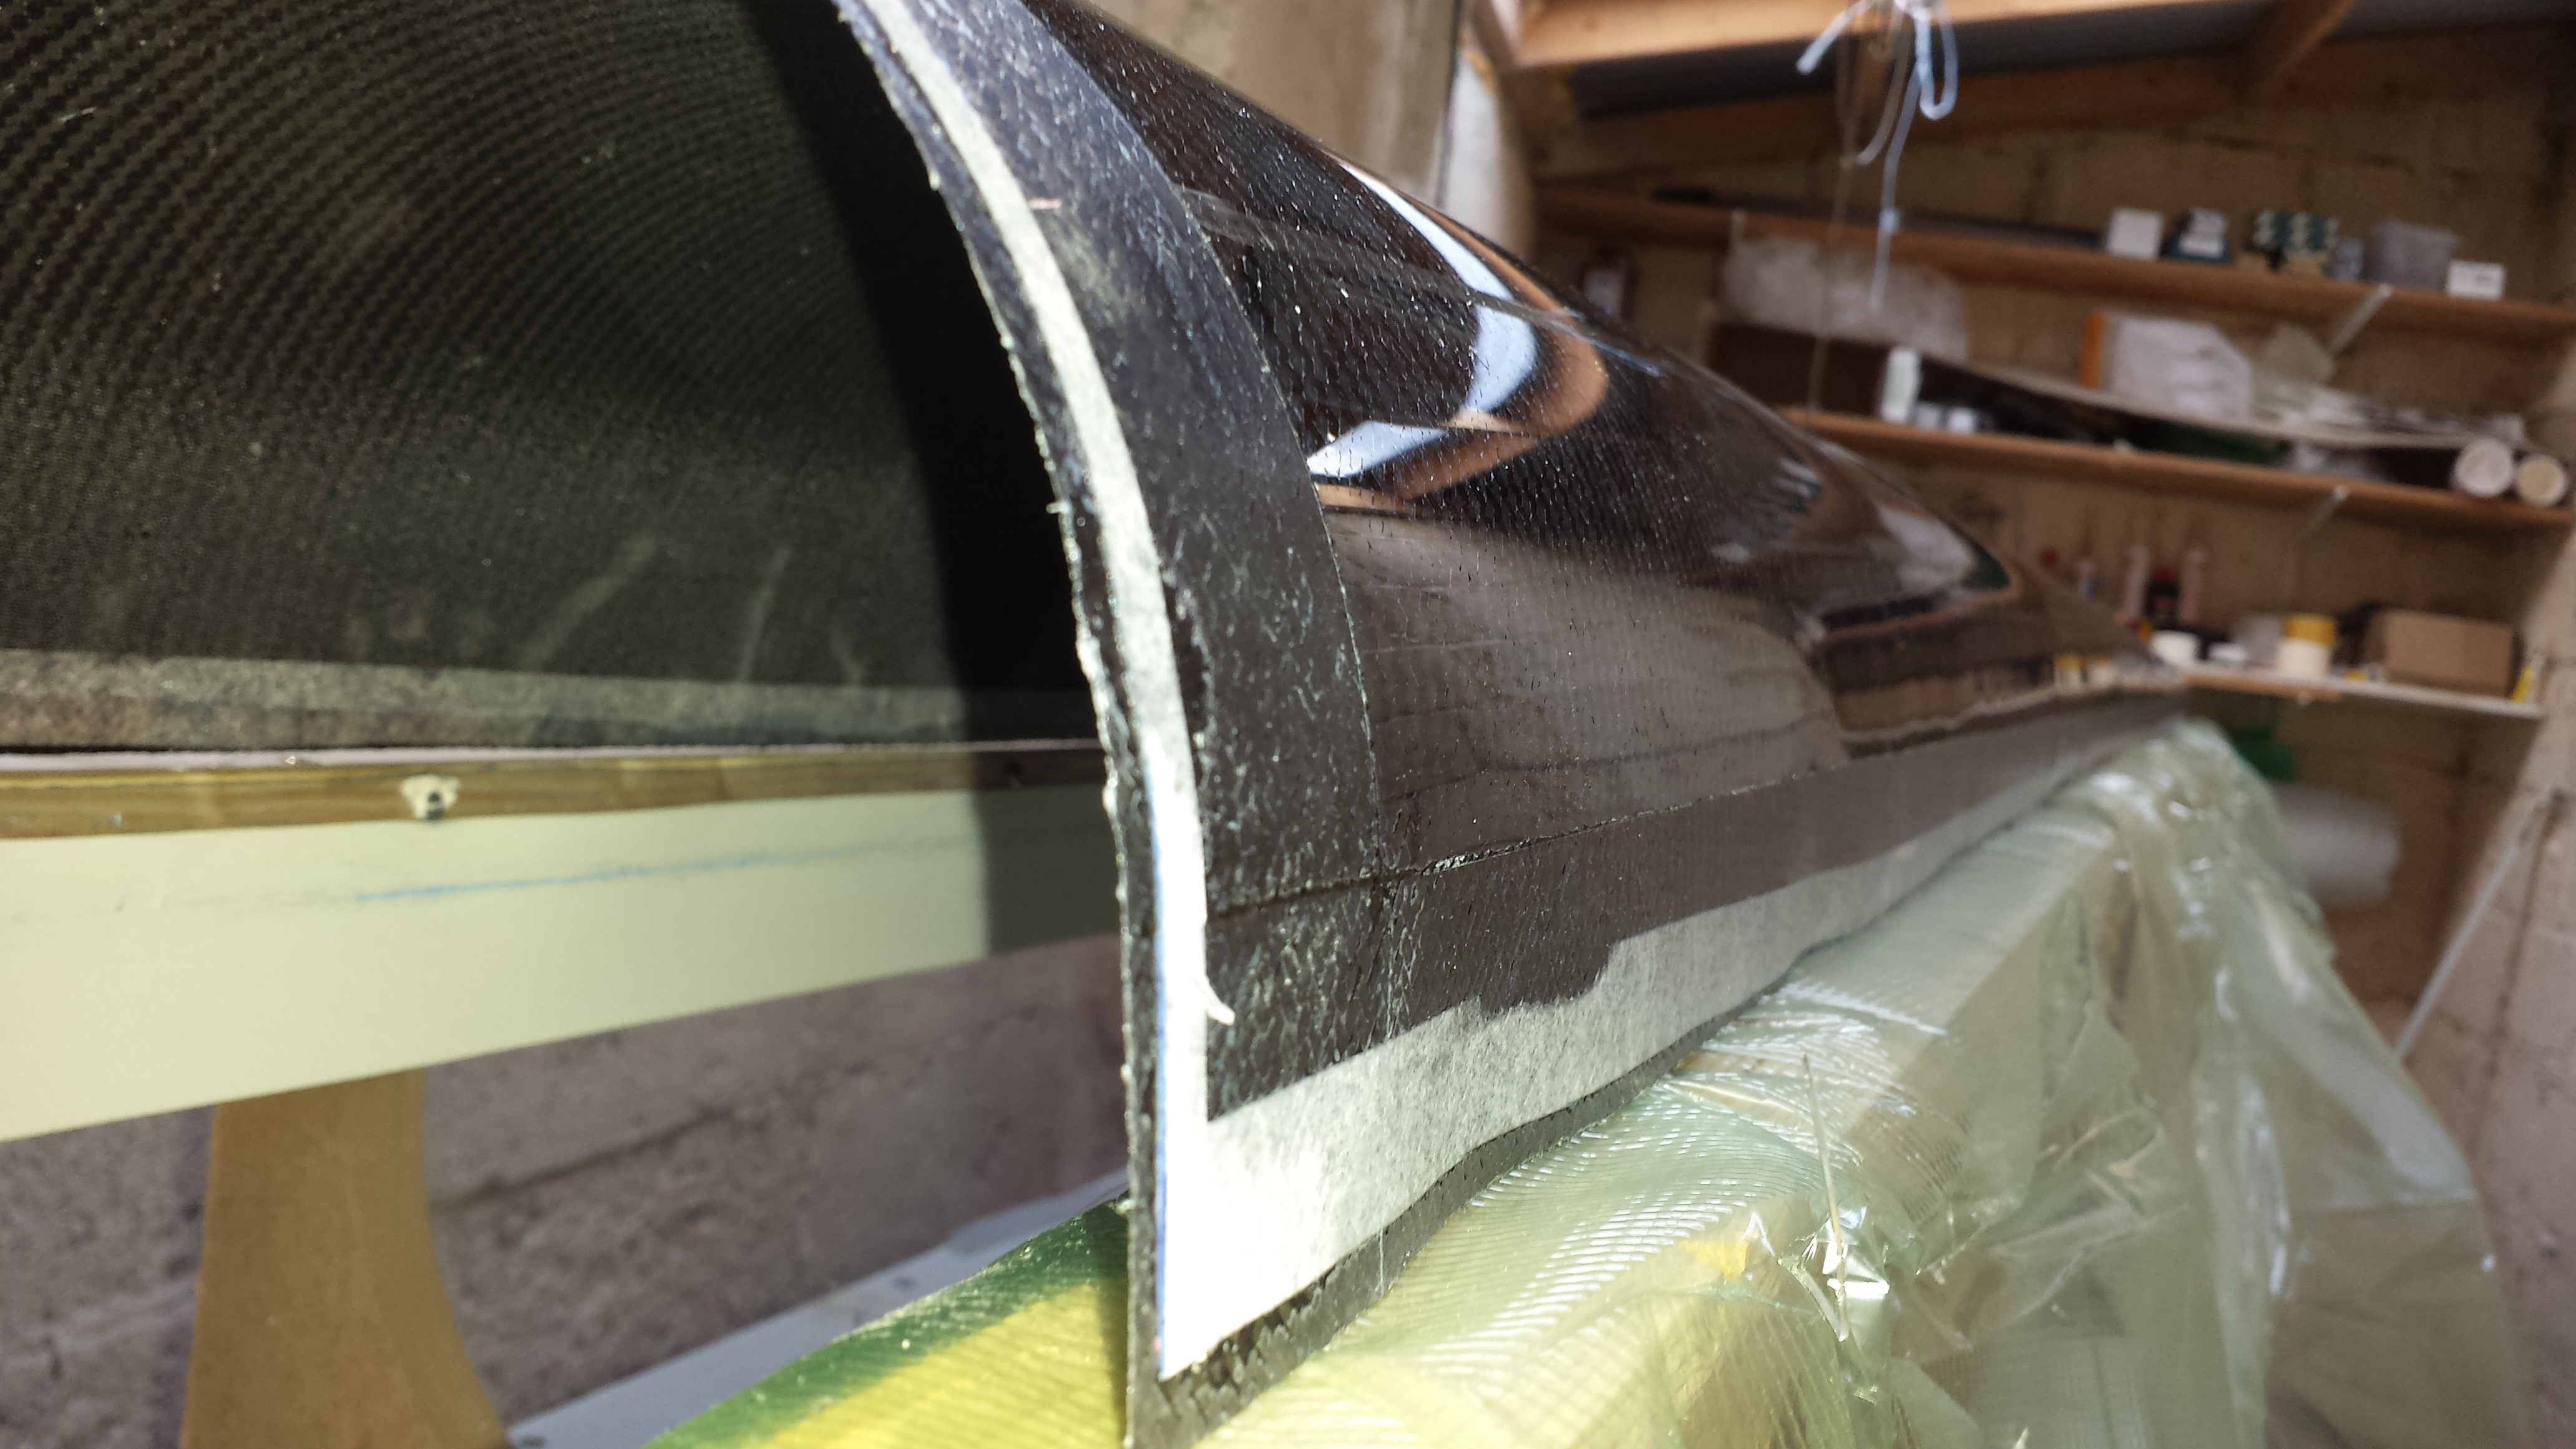
The strip of matt-finished carbon along the long edge of the molded part, formed by the four layers of PVC tape applied to the mold earlier, forms the joggle-joint used to bond the two halves of the tail boom skin together. The part is trimmed along the edge of the masking tape leaving a generous 1"+ overlap. This strip is trimmed off the second half of the skin along the line of the high-gloss finish.
This half of the tail boom skin (untrimmed) weighed in at a feather-weight 850g!
Tail Boom Longerons
The four original longerons were made by sandwiching unidirectional Orcoweb carbon tape between two spruce planks and then sawing them up to their final dimensions. The carbon Orcoweb was laid up in multiple layers tapering off towards the aft end (10 layers at the forward end - 6 layers at the aft end.) Unfortunately Orcon Corporation have discontinued manufacturing Orcoweb.
I replaced three of the longerons with just two lengths of 0.092" x 0.220" pultruded carbon rod laminated onto the inner surface of the tail boom skins using 2" wide strips of carbon fibre cloth - the fourth longeron required 3 rods. The internal bulkheads were notched to accept the carbon rods and bonded into the skins (using an epoxy + cotton flock mix) after the rods had been encapsulated onto the skins. This was done after the skins had received their initial 24hrs cureing at 25°C but before being post-cured at higher temperatures.
Before I could do this, however, it was necessary to calculate the load bearing strength of the original spruce-orcoweb longerons so that I could work out how many carbon rods were necessary to replace them. References to Orcoweb are in short supply on the internet but I managed to track down the data I needed from a couple of unlikely sources.
Carbon and High Performance Fibres: Directory and Databook by Trevor Starr lists the following properties for Orcoweb:
Orcoweb: Uni-directional non-woven fabric. Rovings are bonded with Nomex threads on one side.
Grade Fibre Weight Width Thickness
S-300 S-2 160gsm 30cm 0.18mm
S-500 S-2 275gsm 30cm 0.3mm (0.011")
The following data for Orcoweb was gleaned from an unrelated patent: US4900048
ORCOWEB GRAPHITE G-650, also from Orcon Corporation, which has the following properties:
Tensile strength (psi) 650,000
Tensile modulus (psi) 40,000,000
Ultimate elongation (percent) 1.6
Weight (lb./sq. ft.) 0.045 (6.45oz/sq-yard or 220gsm)
Density (lb./cu. in.) 0.0627
Typical unidirectional composite properties for the G-650 carbon fiber material using a general purpose epoxy at 60% fiber volume are:
Tensile strength (psi) 315,000
Tensile modulus (psi) 24,500,000
Compressive strength (psi) 197,000 (I used this number in my calculations as it is lower / weaker than the tensile strength.)
Compressive modulus (psi) 18,700,000
Flexural strength (psi) 353,000
Flexural modulus (psi) 22,000,000
Shear strength (Short beam)(psi) 11,000
Physical Properties of Pultruded Carbon Rod:
Tensile strength (psi) 350,000
Tensile modulus 21.5msi or 148gpa
Compressive strength (psi)* 280,000
Compressive modulous 21.0msi or 145gpa
Ultimate Tensile Strain 1.7%
The cross sectional area 0.092" x 0.220" = 0.020204sq-in
Each rod is capable of carrying 280,000 x 0.02024 = 5667lbs
* Note: we used the slightly more conservative figures 200,000psi and 4048lbs when calculating the number of rods required in the wing spar caps.
Physical Properties of Sitka Spruce wood:
Tensile strength (psi) 9,400
Compressive strength (psi) 5,000
Modulous (psi x 10\6) 1.3
Density (lbs/cubic-foot) 28
The Orcoweb in the original tail boom longerons was laid up in multiple layers tapering off along their length. Divided into six equal divisions, the first two divisions received ten layers of Orcoweb, followed by nine, eight, seven and six layers in the remaining divisions. So the strength profile of the longerons can be calculated as follows:
First we look at the spruce component of the longerons, which are made from two layers, each 3/16" thick (2 x 3/16" = 0.375" total.) Three of the longerons are cut to 1/2" width and the fourth (bottom longeron) is 3/4" wide. The compressive strength of Sitka Spruce is 5,000lbs.
Cross Sectional Area Carrying Capacity (5,000lbs x area)
0.375" x 0.50" = 0.1875sq-in 5000lbs x 0.1875sq-in = 938lbs
0.375" x 0.75" = 0.2813sq-in 5000lbs x 0.2813sq-in = 1,407lbs
Next we look at the Orcoweb component of the longerons, which is made of up of 10 to 6 layers, tapering off at equal intervals. Orcoweb is 0.011" thick per layer and has a compressive strength of 197,000lbs.
Section Cross Sectional Area Carrying Capacity
No. (0.5" x 0.011" x layers) (197,000psi x Area)
0 - 1 0.5" x (0.011" x 10 layers) = 0.0550sq-in 10,538lbs
1 - 2 0.5" x (0.011" x 10 layers) = 0.0550sq-in 10,538lbs
2 - 3 0.5" x (0.011" x 9 layers) = 0.0495sq-in 9,751lbs
3 - 4 0.5" x (0.011" x 8 layers) = 0.0440sq-in 8,668lbs
4 - 5 0.5" x (0.011" x 7 layers) = 0.0385sq-in 7,548lbs
5 - 6 0.5" x (0.011" x 6 layers) = 0.0330sq-in 6,501lbs
Section Cross Sectional Area Carrying Capacity
No. (0.75" x 0.011" x layers) (197,000psi x Area)
0 - 1 0.75" x (0.011" x 10 layers) = 0.0825sq-in 16,252lbs
1 - 2 0.75" x (0.011" x 10 layers) = 0.0825sq-in 16,252lbs
2 - 3 0.75" x (0.011" x 9 layers) = 0.0743sq-in 14,637lbs
3 - 4 0.75" x (0.011" x 8 layers) = 0.0660sq-in 13,002lbs
4 - 5 0.75" x (0.011" x 7 layers) = 0.0578sq-in 11,387lbs
5 - 6 0.75" x (0.011" x 6 layers) = 0.0495sq-in 9,752lbs
Finally we add the carrying capacity of both the spruce and Orcoweb to find out the number of carbon rods required at each section of the tail boom. Each carbon rod can carry 5667lbs:
Section Load Carrying Capacity No. of Carbon
No. (1/2" wide longerons) Rods Required
Spruce + Orcoweb = Total Total / 5667lbs
0 - 1 938lbs + 10,538lbs = 11,476lbs / 5667lbs = 2.0 rods
1 - 2 938lbs + 10,538lbs = 11,476lbs / 5667lbs = 2.0 rods
2 - 3 938lbs + 9,751lbs = 10,689lbs / 5667lbs = 1.9 rods
3 - 4 938lbs + 8,668lbs = 9,606lbs / 5667lbs = 1.7 rods
4 - 5 938lbs + 7,548lbs = 8,486lbs / 5667lbs = 1.5 rods
5 - 6 938lbs + 6,501lbs = 7,439lbs / 5667lbs = 1.3 rods
Section Load Carrying Capacity No. of Carbon
No. (3/4" wide longeron) Rods Required
Spruce + Orcoweb = Total Total / 5667lbs
0 - 1 1,407lbs + 16,252lbs = 17,659lbs / 5667 = 3.1 rods
1 - 2 1,407lbs + 16,252lbs = 17,659lbs / 5667 = 3.1 rods
2 - 3 1,407lbs + 14,637lbs = 16,004lbs / 5667 = 2.8 rods
3 - 4 1,407lbs + 13,002lbs = 14,409lbs / 5667 = 2.5 rods
4 - 5 1,407lbs + 11,387lbs = 12,794lbs / 5667 = 2.3 rods
5 - 6 1,407lbs + 9,752lbs = 11,159lbs / 5667 = 2.0 rods
As with the carbon rods in the wing spars, the rods in the tail boom must be encapsulated / bonded to the inner surface of the tail boom skin by at least one layer of carbon cloth to prevent them from buckling under load.
Calculating the relative weights of the original longerons and the replacement carbon rods:
Bear in mind that the Orcoweb is impregnated with epoxy by hand using the wet lay-up method, which results in a resin rich (heavy) laminate. The carbon rods are laminated to the tail boom skins and then vacuum bagged to remove all the excess resin, resulting in a lighter and stronger part.
Density of Sitka Spruce: 28 lbs/cu-ft = 0.0162 lbs/cu-in
Density of Orcoweb: 0.0627 lbs/cu-in
Density of Carbon Rod: 95 lbs/cu-ft = 0.0550 lbs/cu-in
Weight of 9 Carbon Rods = 1.58 lbs
Weight of Spruce + Orcoweb longerons = 2.15 lbs + 1.96 lbs = 4.11 lbs
So our carbon rod longerons work out approximately 2.5 lbs lighter than the original spruce + Orcoweb longerons!
...based in the following calculations:
Volume of spruce = 0.375" x 0.50" x 157.5 = 29.53 x 3 longerons = 88.59cu-in
0.375" x 0.75" x 157.5 = 44.30 x 1 longeron = 44.30cu-in
Total volume of spruce (all 4 longerons) = 132.89cu-in
Weight of spruce = 132.89cu-in x 0.0162 lbs/cu-in = 2.15 lbs
Volume of Orcoweb (taking the average thickness of these tapered components)
Volume of 1/2" Orcoweb = 157.5 x 0.044sq-in = 6.93 x 3 = 20.79cu-in
Volume of 3/4" Orcoweb = 157.5 x 0.066sq-in = 10.40cu-in
Total volume of Orcoweb (approx) = 31.19cu-in
Weight of Orcoweb = 31.19cu-in x 0.0627 = 1.96lbs
Volume of Carbon Rod = 0.092 x 0.220 x 157.5 x 9 = 28.69cu-in
Weight of Carbon Rod = 28.69cu-in x 0.0550 lbs/cu-in = 1.58 lbs
So, we can safely substitute two carbon rods in place of each of the 1/2" wide longerons and 3 rods in place of the 3/4" wide longeron, and we end up with an equally strong (stronger in places!) and significantly lighter tail boom.
Coming soon! - Installing the Bulkheads:
The original bulkheads and ribs inside the tail boom were cut out of 1/4" marine plywood. I replaced these with 5mm foam wrapped in a single layer (1 layer each side) of carbon cloth. Pully mounts were reinforced by extra layers of CF cloth.
Coming soon! - Drag Spar Compression Beam:
In the original plans, the drag spar compression beam consists of a 1/4" thick x 2" wide x 13.25" long piece of marine ply encapsulated in eight layers of carbon cloth (4 layers each side.)
The compressive strength of plywood is 4500 - 5950psi (according to http://www.matweb.com/search/DataSheet.aspx?MatGUID=bd6620450973496ea2578c283e9fb807)
The compressive strength of carbon cloth is...
Coming soon! - Installing the Control Wire Tubes (to facilitate replacing the wires):
Coming soon! - Fabricating and Installing the Tail Boom End Cone Assembly:
Coming soon! - Designing, Fabricating and Installing a New Tail Skid.
Coming soon! - Installing the Control Wires:
Coming soon! - Bonding the two halves of the skin together: